This post contains affiliate links. As an Amazon Associate I earn from qualifying purchases.
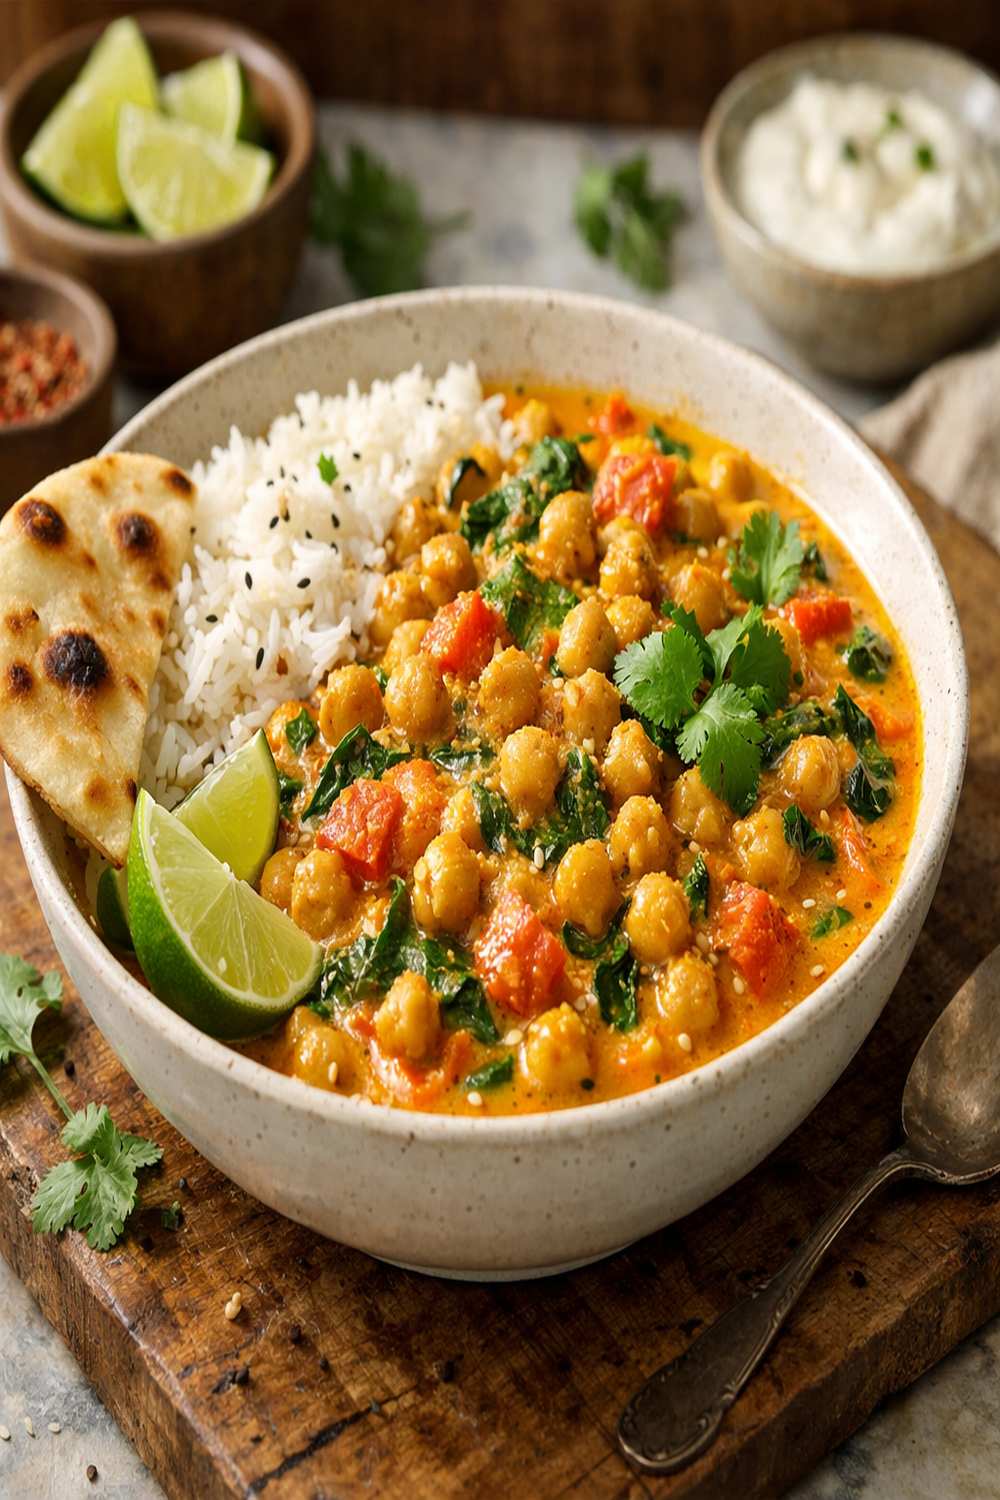
You’ve probably tried the quick-and-rushed weeknight curry, the slow cooker version that turned everything into mush, and maybe even the restaurant-style approach that required sourcing ingredients from three different stores. Here’s what I’ve learned after testing every method imaginable in my Florida kitchen: the simple stovetop approach wins every single time—and I’m going to show you exactly why.
I grew up watching my grandmother simmer curries on her stove in Brazil, the kind where you could smell the spices blooming long before dinner time. She never used fancy equipment or complicated techniques. Just quality ingredients, patience, and a deep pot. That memory shaped how I approach cooking today, and this chickpea coconut curry embodies everything she taught me about letting food speak for itself.
Chickpea Coconut Milk Curry Recipe: Why the Stovetop Method Actually Wins
I’ve tested this recipe three different ways over the past two years—in my slow cooker, in my Instant Pot, and using the traditional stovetop method you’re about to learn. As a registered dietitian, I care deeply about how cooking methods affect both nutrition and flavor. What I discovered surprised even me: the stovetop approach preserves the delicate spice profiles while maintaining the chickpeas’ firm texture and creating a naturally balanced sauce.
The stovetop method gives you real-time control over heat, flavor development, and sauce consistency. You’re not guessing whether something is done. You’re tasting and adjusting as you go. That’s the difference between a good curry and one that tastes like it came straight from your favorite Indian restaurant.
The Methods Compared: A Honest Breakdown
Let me break down the three most popular approaches I’ve tested, because understanding why this method wins will make you a better cook overall.
- Slow Cooker Method – Convenient for hands-off cooking, but the extended cooking time (6-8 hours on low) breaks down the chickpeas too much and can cause the coconut milk to separate. You’ll end up with a grainy texture and muted spice flavors. Best for: people who need to prep in the morning and eat at dinner with zero involvement.
- Instant Pot Method – Fast and trendy, but the high pressure environment cooks the dish so quickly that the spices never fully bloom and marry together. You also risk accidentally curdling the coconut milk if you’re not careful with the release method. Best for: those in a genuine time crunch, though you sacrifice flavor complexity.
- Stovetop Method (This Recipe) – Takes about 25-30 minutes total, gives you complete sensory feedback, allows the aromatics to develop naturally, and creates the perfect creamy-yet-structured sauce. The chickpeas stay intact, the spices bloom properly, and you can taste and adjust seasoning in real time. Best for: anyone who wants restaurant-quality results with actual involvement in the process.
Why This Version Beats the Rest
The stovetop method wins because it respects the ingredient timeline. When you start with your aromatics—the diced red onion and fresh tomatoes—you’re creating flavor layers from the ground up. The natural juices from the tomatoes release slowly, creating a foundation that’s deeper and more complex than anything a pressure cooker can achieve in 5 minutes.
Here’s what happens that makes this method superior: as your onions soften for those first 10 minutes, their natural sugars caramelize slightly. The tomatoes break down and concentrate their flavor. This isn’t rushing. This is building. When you add the chickpeas and spices, they’re not meeting a blank canvas—they’re joining an already-flavorful base. The garam masala, curry powder, and cumin can fully hydrate in the coconut milk without the pressure and heat that can cook them into bitterness.
The result? A sauce that tastes like it’s been simmering for hours, achieved in about 25 minutes. Your chickpeas stay creamy on the outside but firm inside. The coconut milk stays silky and integrated, never separated or broken. And that squeeze of lime at the end? It hits differently when it’s been allowed to sing.
The Ingredients
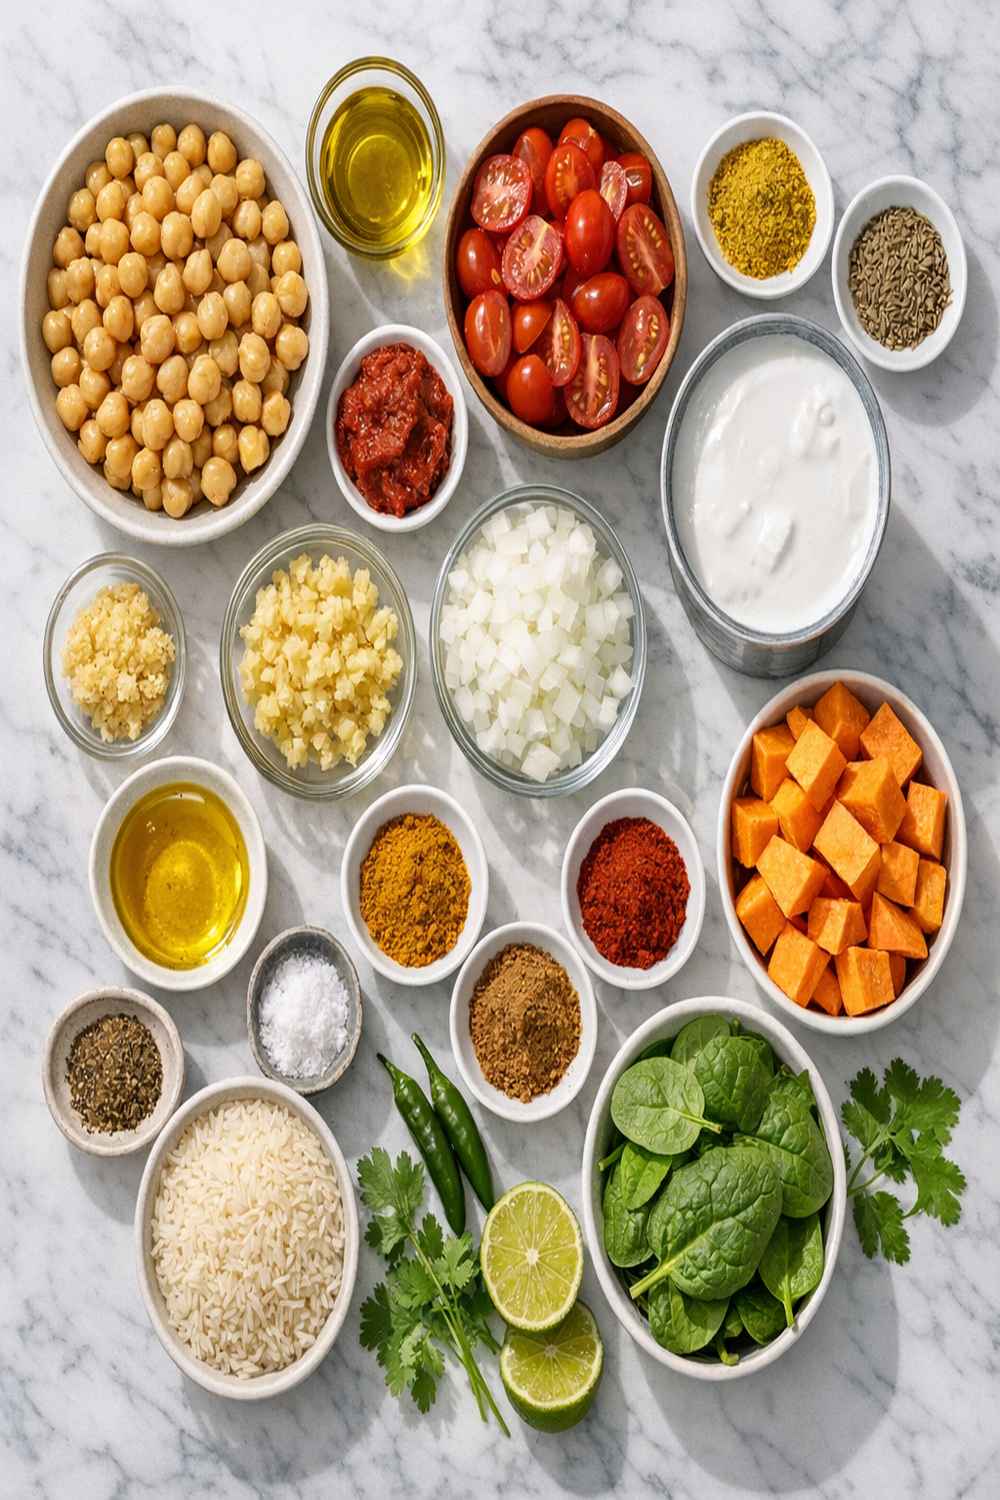
I’ve chosen these specific ingredients because they work together to create balance—not just spice, but richness, acidity, and texture. Notice there’s no cream, no butter, and no complicated substitutions. This is clean cooking that delivers maximum flavor with minimal fuss. The coconut flour is optional but recommended; it’s a professional trick that helps thicken the sauce naturally without affecting the flavor profile.
- 1½ tablespoons garam masala (this is your primary spice, so quality matters—store in a cool, dark place)
- ¼ teaspoon ground cumin (adds earthiness and rounds out the spice profile)
- 14 ounces canned diced tomatoes (fire-roasted varieties add extra depth, or use fresh Roma tomatoes when in season)
- 1 teaspoon curry powder (the secondary spice layer, milder than garam masala)
- 16 ounces canned chickpeas (drained and rinsed thoroughly to remove excess sodium)
- 1 small lime (fresh juice is non-negotiable—bottled lime juice is acidic without the brightness)
- 2 teaspoons coconut flour (optional but recommended, helps achieve ideal consistency)
- 3 tablespoons virgin coconut oil (cold-pressed, which has a more neutral flavor than refined when heated)
- Sea salt and ground black pepper (to taste—always use freshly ground black pepper)
- 3 garlic cloves (minced finely, not sliced—surface area matters for flavor extraction)
- 1 medium red onion (diced small, roughly ½ inch pieces for even cooking)
- 13.5 ounces canned full-fat coconut milk (shake the can well—the fat is where the flavor lives)
How to Make the Best Version of Chickpea Coconut Milk Curry Recipe
Follow these steps exactly as written. Each one builds on the previous, and skipping any part will change your results. I’m giving you the professional approach I use in my own kitchen.
Step 1: Heat Your Oil and Build Your Flavor Base
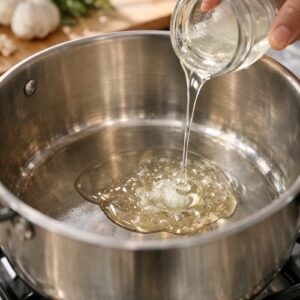
Pour 3 tablespoons of virgin coconut oil into a deep, heavy-bottomed pot and place it over medium-high heat. Let it warm for about 1 minute—you want it shimmering but not smoking. Never let coconut oil smoke; this creates bitter compounds and damages the nutritional profile. Once ready, add your diced red onion immediately. The onion will sizzle slightly, which is exactly what you want.
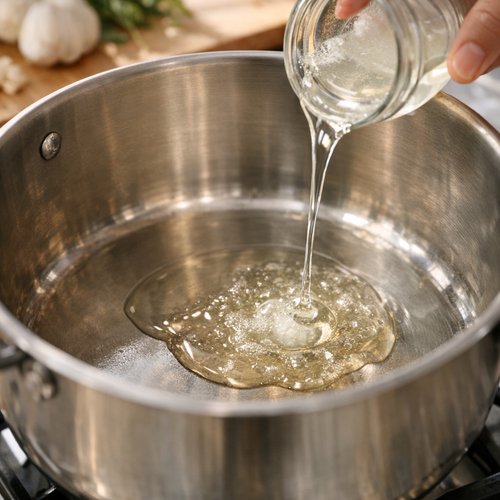
This is the foundation moment. You’re not rushing. Let the onions cook undisturbed for about 2-3 minutes, then stir. This creates caramelization on the cut surfaces, which develops natural sweetness and depth. After stirring, cook for another minute or two before moving to the next step.
Step 2: Add Tomatoes and Create the First Sauce Layer
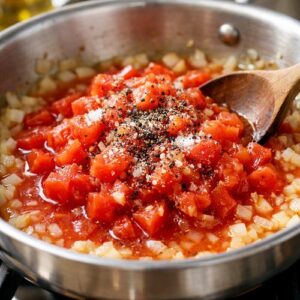
Add your 14 ounces of diced tomatoes (juice and all) directly to the softened onions. Grind a generous pinch of sea salt and black pepper over the mixture. Salt is crucial here—it draws out the tomato juices and begins the osmotic process that will create your sauce base. Stir everything together thoroughly.
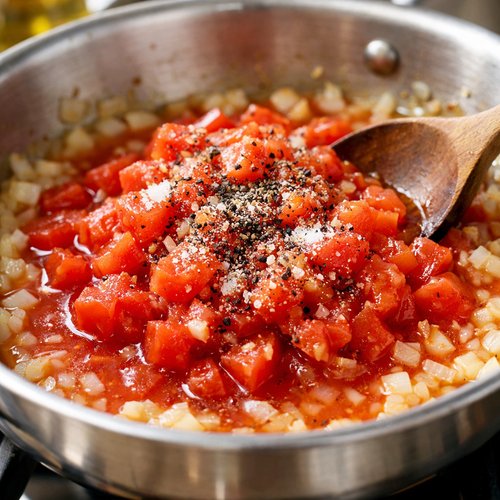
Lower your heat to medium and let this simmer without a cover for exactly 10 minutes. During this time, resist the urge to stir constantly. Check it once or twice, give it a gentle stir, then let it be. The tomatoes will break down naturally, their juices will concentrate, and the onions will become translucent and sweet. You’ll notice the mixture becoming darker and more paste-like as water evaporates—this is intentional. By minute 10, you should have a thick, flavor-concentrated base.
Step 3: Introduce the Chickpeas and Spice Blend
Add your drained and rinsed chickpeas to the pot. Make sure they’re truly rinsed under cold water—this removes excess sodium that can make the final dish taste off. Now add your minced garlic, garam masala, curry powder, and cumin. Stir immediately and continuously for about 1 full minute. This keeps the spices from burning and helps them distribute evenly through the mixture.
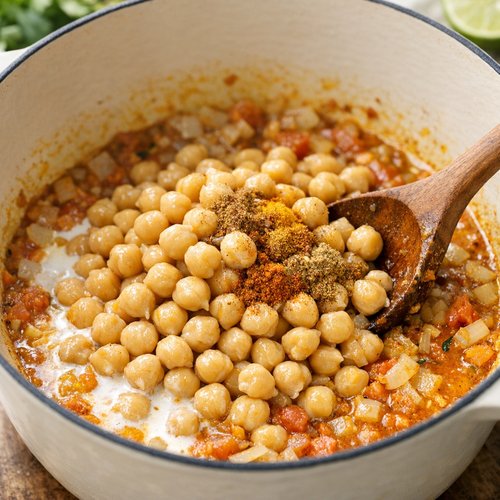
What you’re doing here is called “blooming” the spices. The heat and moisture activate the essential oils in these spices, releasing their aromatic compounds. This is why you’ll suddenly smell that intoxicating curry aroma. Don’t skip this step or rush it—your nose is your quality control meter.
Step 4: Incorporate the Coconut Milk and Optional Thickener
Pour in your 13.5 ounces of canned coconut milk. Before you open the can, shake it well for 10-15 seconds—this redistributes the fat throughout the liquid. If you skip this, you’ll end up with a thin curry and wasted richness. Stir everything together until the coconut milk is fully integrated and no streaks remain.
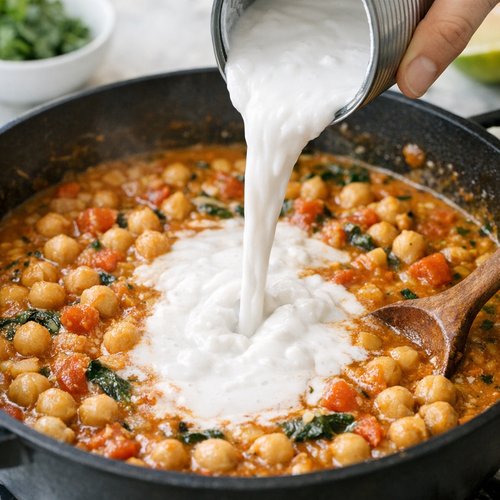
If you’re using the coconut flour (which I recommend), dissolve it first in 2 tablespoons of cold water to create a slurry. Add this to the pot now and stir. The coconut flour helps achieve the perfect creamy consistency without affecting flavor—it’s basically refined coconut solids that thicken naturally. If you skip it, your curry will be slightly thinner, which is fine, but the mouthfeel won’t be quite as luxurious.
Step 5: Simmer and Marry the Flavors
Bring the entire mixture to a gentle boil, then immediately reduce the heat to medium-low. You want a steady simmer where occasional bubbles break the surface, not a rolling boil. Do not let coconut milk boil vigorously—this can cause it to break or separate. Simmer for 10-12 minutes without covering the pot.
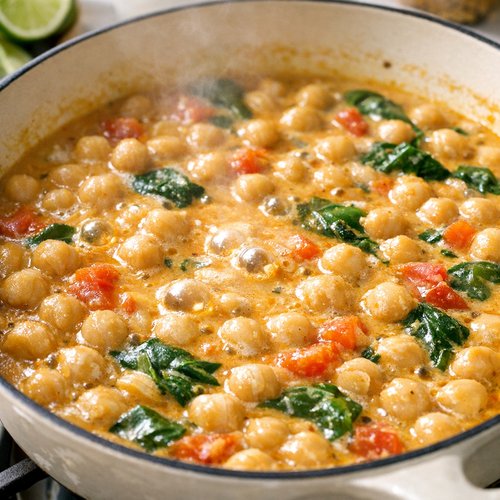
During this time, everything is marrying together. The chickpeas are absorbing the flavors. The spices are softening and integrating into the sauce rather than tasting sharp or separate. The coconut milk is getting thicker and creamier as it simmers. Stir occasionally—maybe every 3-4 minutes—but don’t obsess over it. This is when you can prepare your rice or naan if serving alongside.
Step 6: Taste, Adjust, and Finish With Lime
After 12 minutes, taste your curry. Always taste before adding more seasoning. Ask yourself: Is it salty enough? Does it need more pepper? Is the spice level right for you? Add tiny pinches of salt or pepper if needed, stir, and taste again. Some people like more heat—if that’s you, add a pinch more curry powder or garam masala now.
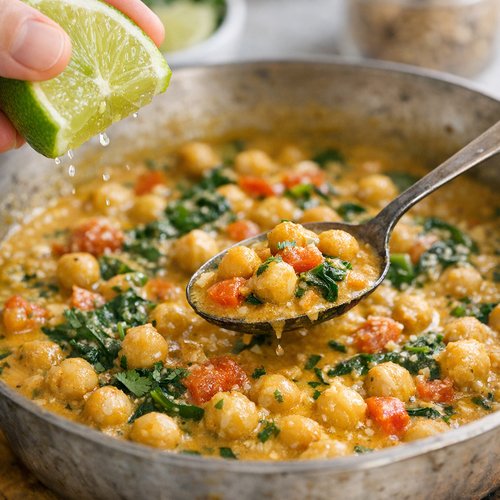
Remove from heat. This is critical: don’t skip the lime. Cut your lime in half and squeeze the juice directly into the pot, stirring to combine. That acid brightens everything—the spices suddenly sing, the coconut richness becomes balanced, and the whole dish comes alive. This is why lime isn’t optional; it’s the final seasoning that makes this curry taste like it came from a restaurant.
Let it cool for about 5 minutes before serving. This resting period allows flavors to settle and the temperature to become more enjoyable.
Side-by-Side Results: What to Expect
With this method, you’ll get a curry with a rich, velvety sauce that clings beautifully to each chickpea. The color should be a warm golden-brown to deep tan, depending on your tomatoes and spice brands. When you look at it, you’ll see individual chickpeas suspended in creamy sauce—not a mushy paste.
The texture is the most noticeable difference from other methods. The chickpeas stay firm-tender, with a slight bite that tells you they’re fully cooked but not disintegrating. The sauce has body without being heavy. It’s creamy from coconut milk but balanced by the tomatoes’ acidity and the lime’s brightness.
Flavor-wise, you’re getting distinct layers: the warmth of garam masala, the earthiness of cumin, the savory undertone of curry powder, the sweetness of caramelized onions, and the brightness of lime. None of these overpower each other. With the slow cooker method, these flavors meld into a one-dimensional background taste. With the Instant Pot, they stay somewhat separated and sharp. With the stovetop? They’re balanced and complex.
When to Use Each Method
- Weeknight dinner when you’re home and able to be present – Use the stovetop method. You’ll have dinner in 25 minutes with better flavor. This is actually faster than many people realize.
- Work day when you need hands-off cooking and won’t be home until evening – Use the slow cooker method on low, but understand you’re sacrificing texture and spice clarity. Add the lime juice and a final taste adjustment when you get home.
- Genuine emergency where you need dinner in under 15 minutes – Use the Instant Pot method with the understanding that it won’t taste as developed. Spend extra time on the sauté function to let aromatics bloom before pressurizing.
Can I Store Chickpea Coconut Milk Curry Recipe?
Absolutely. This curry actually improves after a day as flavors continue to develop and meld. Store it in an airtight container in your refrigerator for up to 5 days. The sauce will thicken slightly as it cools due to the coconut milk; this is normal and desirable.
To reheat, transfer to a pot over medium heat and add a splash of water if needed to loosen it back to your preferred consistency. Stir occasionally until heated through, about 5-7 minutes. Never microwave curry in a closed container—steam buildup can cause burns. You can also reheat individual portions in a bowl with a loose cover.
Freezing is possible for up to 3 months, though the texture of the chickpeas becomes slightly softer upon thawing. Freeze in individual portions in freezer-safe containers with about ½ inch of headspace for expansion. Thaw overnight in the refrigerator, then reheat gently on the stovetop.
Expert’s Nutritional Tip
As a registered dietitian, I’m always thinking about the nutritional sustainability of the foods I recommend. Chickpeas are an underrated nutritional powerhouse—one cup provides about 15 grams of plant-based protein, plus fiber, folate, and iron. The coconut milk adds medium-chain triglycerides (MCTs), which are metabolized differently than longer-chain fats and support satiety.
What excites me about this recipe specifically is the spice blend. Garam masala traditionally includes black pepper, cloves, and cinnamon—all of which contain compounds that support digestive health and have been studied for their anti-inflammatory properties. When combined with the tomatoes’ lycopene and the lime’s vitamin C, you’re creating a dish that’s not just delicious but genuinely nourishing at a cellular level. This isn’t health food that tastes like punishment; it’s naturally balanced comfort.
Make-Ahead Guide: Smart Meal Prep Strategy
You have several intelligent options for prepping this curry ahead, and I’ll walk you through each based on your schedule and preferences.
Option 1: Complete Prep, Just Before Eating – Chop your onions and tomatoes in the morning, store them in separate airtight containers, and prep your garlic (minced garlic stored in the refrigerator keeps for 3-4 days). When you come home, assembly takes literally 3 minutes and cooking takes 25. This requires minimal evening involvement but gives you fresh results.
Option 2: Cook Completely, Reheat as Needed – Make the full recipe on Sunday, cool completely, and portion into glass containers with lids. This keeps for 5 days and reheats beautifully. Add fresh lime juice when reheating for brightness, as the acidity fades slightly after a day. This is my preferred approach for busy weeks.
Option 3: Partial Prep for Busy Weeknights – Prepare everything through Step 2 (the tomato base), cool it, and store it. When you’re ready to eat, reheat the base and proceed from Step 3. This actually takes only 15 minutes from cold storage to plate, and the flavor is nearly identical to fresh since you’re not actually cooking the spices until you want them.
Common Mistakes to Avoid
Mistake 1: Skipping the initial onion and tomato cooking step. Some people try to rush and add everything at once. This creates a thin, separated curry with raw spice flavors and no depth. The 10-minute foundation step is absolutely non-negotiable.
Mistake 2: Using coconut milk straight from the refrigerator without shaking. Cold, unshaken coconut milk is mostly water with fat settled at the top. You’ll add the water and miss the richness, creating a thin, bland curry. Always shake well and bring to room temperature slightly before using.
Mistake 3: Adding salt too early or too late. Add it with the tomatoes (it helps them release juices) and taste again at the very end. Adding it only at the end means you miss the flavor development during cooking. Conversely, adding too much early means you can’t take it back.
Mistake 4: Not tasting and adjusting. Every person’s preference is different, and every brand of spices has slightly different intensity. Tasting at the end and making tiny adjustments turns a good curry into your perfect curry. Don’t be shy about adding a pinch more garam masala or curry powder if you want it.
Seasonal Variations: Adapt Throughout the Year
Summer Version – When fresh tomatoes are at peak ripeness (July-September in Florida), use 2 cups of fresh diced Roma tomatoes instead of canned. Add 1 teaspoon of fresh lime zest along with the juice. Include fresh basil or cilantro at the end for brightness.
Fall Version – Add ½ cup of diced sweet potato along with the chickpeas. The natural sweetness complements the spices beautifully and adds fiber. Increase the garam masala slightly to ¾ tablespoon.
Winter Version – Add ½ cup of diced bell pepper (red or yellow for sweetness) and 1 small diced zucchini along with the chickpeas for heartiness. A pinch of cayenne can warm things up if you like extra heat.
Spring Version – Add 1 cup of fresh spinach at the very end, stirring until it wilts. Add ½ teaspoon of fresh ginger along with the garlic for brightness. This lightens the dish while keeping it satisfying.
Nutrition Information
Per serving (based on 4 servings total, USDA data): 285 calories, 12 grams of protein, 24 grams of carbohydrates, 16 grams of fat (of which 13 grams are saturated from coconut milk), 6 grams of fiber, and 180 milligrams of sodium. The glycemic load is low due to the chickpea fiber, making this an excellent choice for stable blood sugar.
This recipe provides about 50% of your daily folate needs and 25% of your iron needs per serving, important for vegetarian sources of these nutrients. The turmeric and other spices in garam masala contain curcumin, studied for its anti-inflammatory properties. Compared to many curry recipes that rely on heavy cream, this coconut milk version is actually lighter while tasting more luxurious.
What Can I Serve With Chickpea Coconut Milk Curry Recipe?
This curry is beautifully versatile and pairs with far more than just rice. Think about what you’re craving in terms of texture and starch.
- Basmati rice – The classic choice. Cook your rice with a pinch of salt and a small piece of cinnamon stick for subtle flavor depth. The mild rice lets the curry flavors shine.
- Quinoa – Adds nutty flavor and extra protein (about 8 grams per cooked cup). The slightly grainier texture contrasts beautifully with the creamy curry.
- Naan bread – Use this to scoop up extra sauce. If you’re short on time, store-bought naan works perfectly well and takes only 2-3 minutes to warm.
- Cauliflower rice – For a lower-carb option that still feels hearty and satisfying.
- Roasted vegetables – Serve alongside or mixed in. Roasted Brussels sprouts, broccoli, or root vegetables add texture and make this a complete meal.
- Yogurt garnish – A dollop of plain Greek yogurt on top adds cooling contrast and creaminess. If you want to keep it vegan, use coconut yogurt.
- Fresh cilantro and diced cucumber – These fresh garnishes add brightness and contrast to the richness of the curry.
- Accompaniments inspired by similar recipes – If you’re feeling adventurous, try this curry stuffed into the Black Bean and Sweet Potato Burger Recipe for an unexpected flavor combination, or layer it into the Best Vegan Lasagna Recipe for a fusion approach.

Chickpea Coconut Milk Curry Recipe
Ingredients
Method
- Pour 3 tablespoons of virgin coconut oil into a deep, heavy-bottomed pot and place it over medium-high heat. Let it warm for about 1 minute—you want it shimmering but not smoking. Never let coconut oil smoke; this creates bitter compounds and damages the nutritional profile. Once ready, add your diced red onion immediately. The onion will sizzle slightly, which is exactly what you want. This is the foundation moment. You're not rushing. Let the onions cook undisturbed for about 2-3 minutes, then stir. This creates caramelization on the cut surfaces, which develops natural sweetness and depth. After stirring, cook for another minute or two before moving to the next step.
- Add your 14 ounces of diced tomatoes (juice and all) directly to the softened onions. Grind a generous pinch of sea salt and black pepper over the mixture. Salt is crucial here—it draws out the tomato juices and begins the osmotic process that will create your sauce base. Stir everything together thoroughly. Lower your heat to medium and let this simmer without a cover for exactly 10 minutes. During this time, resist the urge to stir constantly. Check it once or twice, give it a gentle stir, then let it be. The tomatoes will break down naturally, their juices will concentrate, and the onions will become translucent and sweet. You'll notice the mixture becoming darker and more paste-like as water evaporates—this is intentional. By minute 10, you should have a thick, flavor-concentrated base.
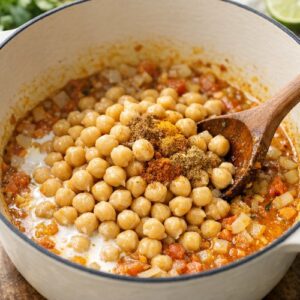
- Add your drained and rinsed chickpeas to the pot. Make sure they're truly rinsed under cold water—this removes excess sodium that can make the final dish taste off. Now add your minced garlic, garam masala, curry powder, and cumin. Stir immediately and continuously for about 1 full minute. This keeps the spices from burning and helps them distribute evenly through the mixture. What you're doing here is called "blooming" the spices. The heat and moisture activate the essential oils in these spices, releasing their aromatic compounds. This is why you'll suddenly smell that intoxicating curry aroma. Don't skip this step or rush it—your nose is your quality control meter.
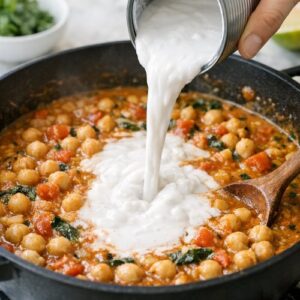
- Pour in your 13.5 ounces of canned coconut milk. Before you open the can, shake it well for 10-15 seconds—this redistributes the fat throughout the liquid. If you skip this, you'll end up with a thin curry and wasted richness. Stir everything together until the coconut milk is fully integrated and no streaks remain. If you're using the coconut flour (which I recommend), dissolve it first in 2 tablespoons of cold water to create a slurry. Add this to the pot now and stir. The coconut flour helps achieve the perfect creamy consistency without affecting flavor—it's basically refined coconut solids that thicken naturally. If you skip it, your curry will be slightly thinner, which is fine, but the mouthfeel won't be quite as luxurious.
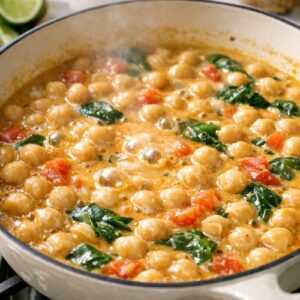
- Bring the entire mixture to a gentle boil, then immediately reduce the heat to medium-low. You want a steady simmer where occasional bubbles break the surface, not a rolling boil. Do not let coconut milk boil vigorously—this can cause it to break or separate. Simmer for 10-12 minutes without covering the pot. During this time, everything is marrying together. The chickpeas are absorbing the flavors. The spices are softening and integrating into the sauce rather than tasting sharp or separate. The coconut milk is getting thicker and creamier as it simmers. Stir occasionally—maybe every 3-4 minutes—but don't obsess over it. This is when you can prepare your rice or naan if serving alongside.
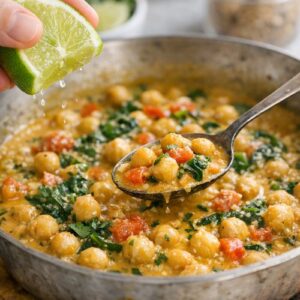
- After 12 minutes, taste your curry. Always taste before adding more seasoning. Ask yourself: Is it salty enough? Does it need more pepper? Is the spice level right for you? Add tiny pinches of salt or pepper if needed, stir, and taste again. Some people like more heat—if that's you, add a pinch more curry powder or garam masala now. Remove from heat. This is critical: don't skip the lime. Cut your lime in half and squeeze the juice directly into the pot, stirring to combine. That acid brightens everything—the spices suddenly sing, the coconut richness becomes balanced, and the whole dish comes alive. This is why lime isn't optional; it's the final seasoning that makes this curry taste like it came from a restaurant. Let it cool for about 5 minutes before serving. This resting period allows flavors to settle and the temperature to become more enjoyable.
FAQs
Why does my curry look separated or broken, with oil pooling on top?
This happens when coconut milk is overheated or when you’ve added something too cold to something too hot. Prevention: never let the curry boil vigorously after adding coconut milk, and always bring cold ingredients closer to room temperature before adding. If it happens, remove from heat and let it cool for 10 minutes, then blend half of it smooth in a blender and return to the pot. The emulsifier in the smooth portion will help re-integrate the broken sauce.
Can I make this curry without coconut milk?
You can, but you’re creating a different dish. The coconut milk is about 30% of what makes this curry luxurious. Substitutes: full-fat Greek yogurt (adds creaminess but tanginess), cashew cream (blend soaked cashews with water), or canned coconut cream mixed with vegetable broth. Each changes the flavor profile significantly, so adjust your lime juice and spices accordingly.
How spicy is this curry, and can I adjust the heat level?
This recipe is mild-to-moderate in heat depending on your garam masala and curry powder brands. Most people find it comfortably spiced without being challenging. To increase heat: add ¼ to ½ teaspoon of cayenne pepper or fresh diced jalapeño along with the garlic. To decrease heat: use less curry powder (as little as ½ teaspoon) or omit it entirely and increase garam masala to 2 tablespoons.
Is this recipe vegan?
Yes, completely. All ingredients are plant-based. The coconut oil, chickpeas, and coconut milk make this naturally vegan and rich enough that no one misses animal products. It’s actually my go-to recipe when cooking for mixed groups because it satisfies both vegan and non-vegan guests equally.
Can I add meat to this recipe?
You absolutely can. Add 12 ounces of cubed chicken breast or 8 ounces of shrimp after Step 2 (instead of proceeding immediately to the chickpeas). Let chicken cook for 8-10 minutes before adding spices, or shrimp for just 2-3 minutes. The cooking times adjust slightly, but the method remains the same. The chickpeas and meat together create a protein-rich, satisfying dish.
More Recipes You’ll Love
- BBQ Tempeh Recipe – A smoky, satisfying protein that pairs beautifully in meal prep alongside your curry
- this cozy soup – Another aromatic one-pot dish that celebrates stovetop cooking methods
- Blueberry Crisp Recipe – A wonderful dessert to finish your Indian dinner with something light and bright
This chickpea coconut curry is the embodiment of what I learned from my grandmother and refined through years of clinical nutrition work: simple ingredients, proper technique, and genuine attention create food that nourishes body and spirit simultaneously. You don’t need complexity to achieve excellence. You need respect for ingredients, understanding of timing, and willingness to taste as you go.
Make this curry this week. Taste it. Adjust it for yourself. Notice how the spices bloom differently than they would in a pressure cooker. Feel the satisfaction of creating something restaurant-quality in your own kitchen in less than 30 minutes. This is what good cooking actually looks like.
Happy cooking!