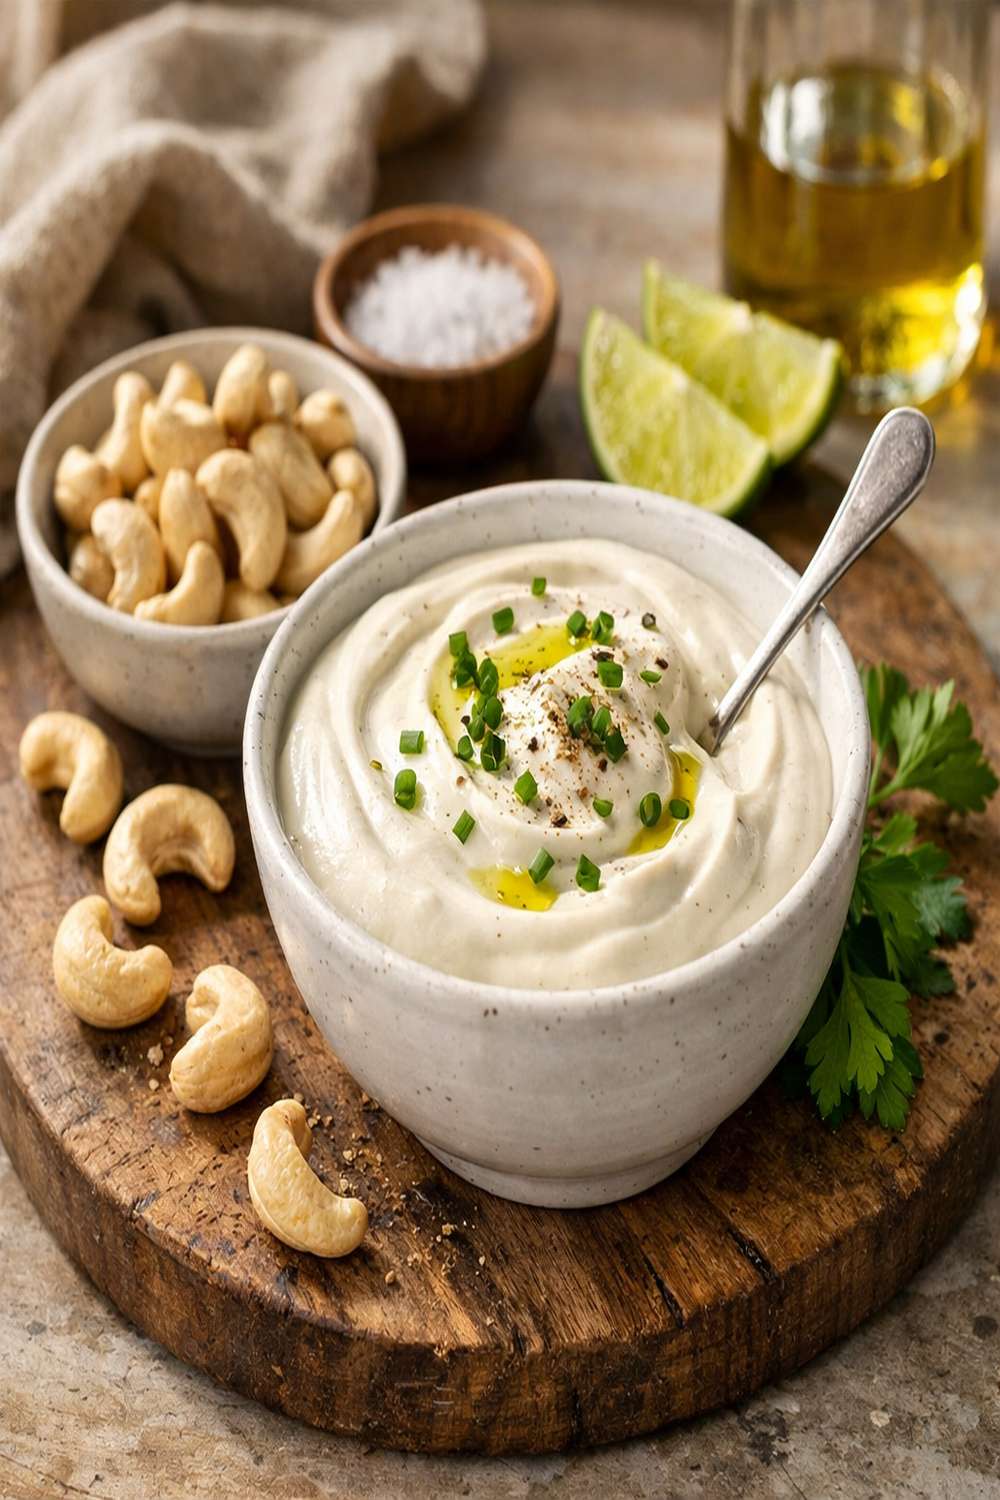

Ingredients
Method
Step 1: Prepare Your Cashews Properly
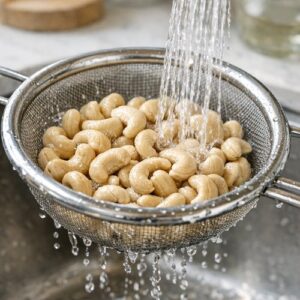
- Pour 1 cup of raw, unsalted cashews into a fine-mesh strainer and rinse them under cool running water for about 30 seconds. This removes surface dust and any residual processing residue. Critical safety note: Always use raw cashews, never roasted or salted varieties—the roasting process changes their texture and the salt will make your final product unpalatably salty. If your blender isn't a high-powered model, place your rinsed cashews in a bowl and pour hot (not boiling) water over them. Let them soak for 15-20 minutes until noticeably softened. This step is essential for standard blenders; skip it if you have a Vitamix or similar high-performance machine.
Step 2: Combine All Ingredients in Your Blender
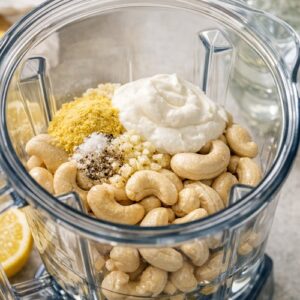
- If you soaked your cashews, drain them well and pat dry with a clean kitchen towel. Add the drained (or unsoaked, if using a high-powered blender) cashews to your blender jar first, followed by the filtered water. Juice your lemon directly into the blender—catching any seeds that escape. Add the vinegar and salt. Don't add optional ingredients yet; we'll taste and adjust those last. Pro tip: Start with slightly less water than the recipe calls for; you can always add more to thin it out, but you can't remove water once blended.
Step 3: Blend at Highest Speed Until Completely Smooth
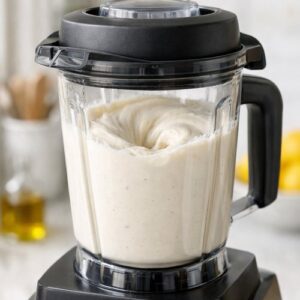
- Secure your blender lid firmly and position yourself where you can safely watch the progress without leaning over the machine. Set the speed to maximum (or pulse mode if you're nervous about overheating a standard blender). Blend continuously for 45 full seconds—I know this feels long, but this is exactly when cashews transition from chunky to creamy. You'll actually see the mixture transform: it starts dense and pale, then gradually becomes smoother and whiter as the nuts release their oils. Stop the blender and carefully remove the lid.
Step 4: Scrape and Blend Again for Perfectly Smooth Texture
- Use a silicone or wooden mini spatula to scrape down the sides and bottom of the blender, folding any thick cashew paste from the edges back toward the center. This ensures even blending. Important safety warning: Never use your fingers or a metal utensil to scrape while the blender is running. Replace the lid and blend for exactly 15 more seconds at maximum speed. This final pulse integrates the scraped portions and brings everything to silky completion.
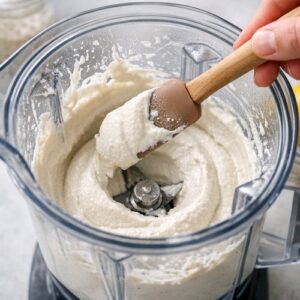
Step 5: Taste and Customize Your Flavor Profile
- Pour a small spoonful into a clean dish and let it cool slightly—tasting at temperature is important because warm foods taste less tangy. Consider: Is it tangy enough for you? Add a few more drops of lemon juice if needed. Does it taste a bit flat? Add a tiny pinch more salt. If you'd like herb versions, now's the time to fold in finely minced fresh dill, chives, or cilantro—about 1-2 tablespoons depending on how herby you want it. For an umami-rich version that pairs beautifully with savory dishes, add 1-2 tablespoons of nutritional yeast and blend briefly. Taste again and adjust until it's exactly what you're craving.
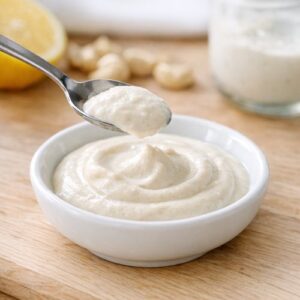
Step 6: Transfer and Refrigerate for Optimal Thickness
- Spoon your finished cashew sour cream into an airtight glass container—glass is better than plastic because it won't stain and allows you to see what's inside. You can serve it immediately if you're in a hurry; it will have a pourable, yogurt-like consistency. However, refrigerating it for at least 2-3 hours (and ideally overnight) allows the mixture to thicken naturally through a combination of cooling and slight separation of the cashew proteins and oils. This creates that signature sour cream texture you're after. The flavor also deepens and becomes more cohesive after chilling, much like how marinara sauce improves overnight.
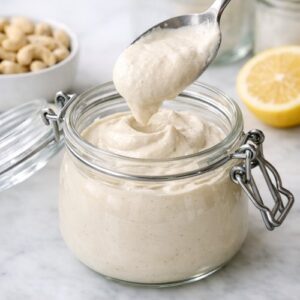
Notes
- Using pre-roasted or salted cashews: This is the number one mistake I see. Roasting changes the fat profile and creates a slightly grainy texture that's hard to smooth out. Salted cashews make the final product unpalatably salty no matter how much you dilute. Always double-check your cashew label—it should say "raw" in plain text.
- Not blending long enough: Impatience ruins this recipe. If you stop blending at 20 seconds, you'll get a gritty, separated mess. Those full 45 seconds matter because they allow the nuts to fully break down and their natural oils to emulsify. Your blender needs time to do its job.
- Skipping the second blend after scraping: All the thick cashew paste accumulates on the sides. If you don't scrape and re-blend, your final texture will be inconsistent—some spoonfuls creamy, others grainy. This 15-second final blend is non-negotiable.
- Using tap water in hard water areas: If you have mineral-heavy tap water, it can interfere with the smooth texture. This is why I recommend filtered water. I learned this the hard way when visiting my sister in Arizona—the same recipe gave different results due to water minerality. A simple pitcher filter solves this.