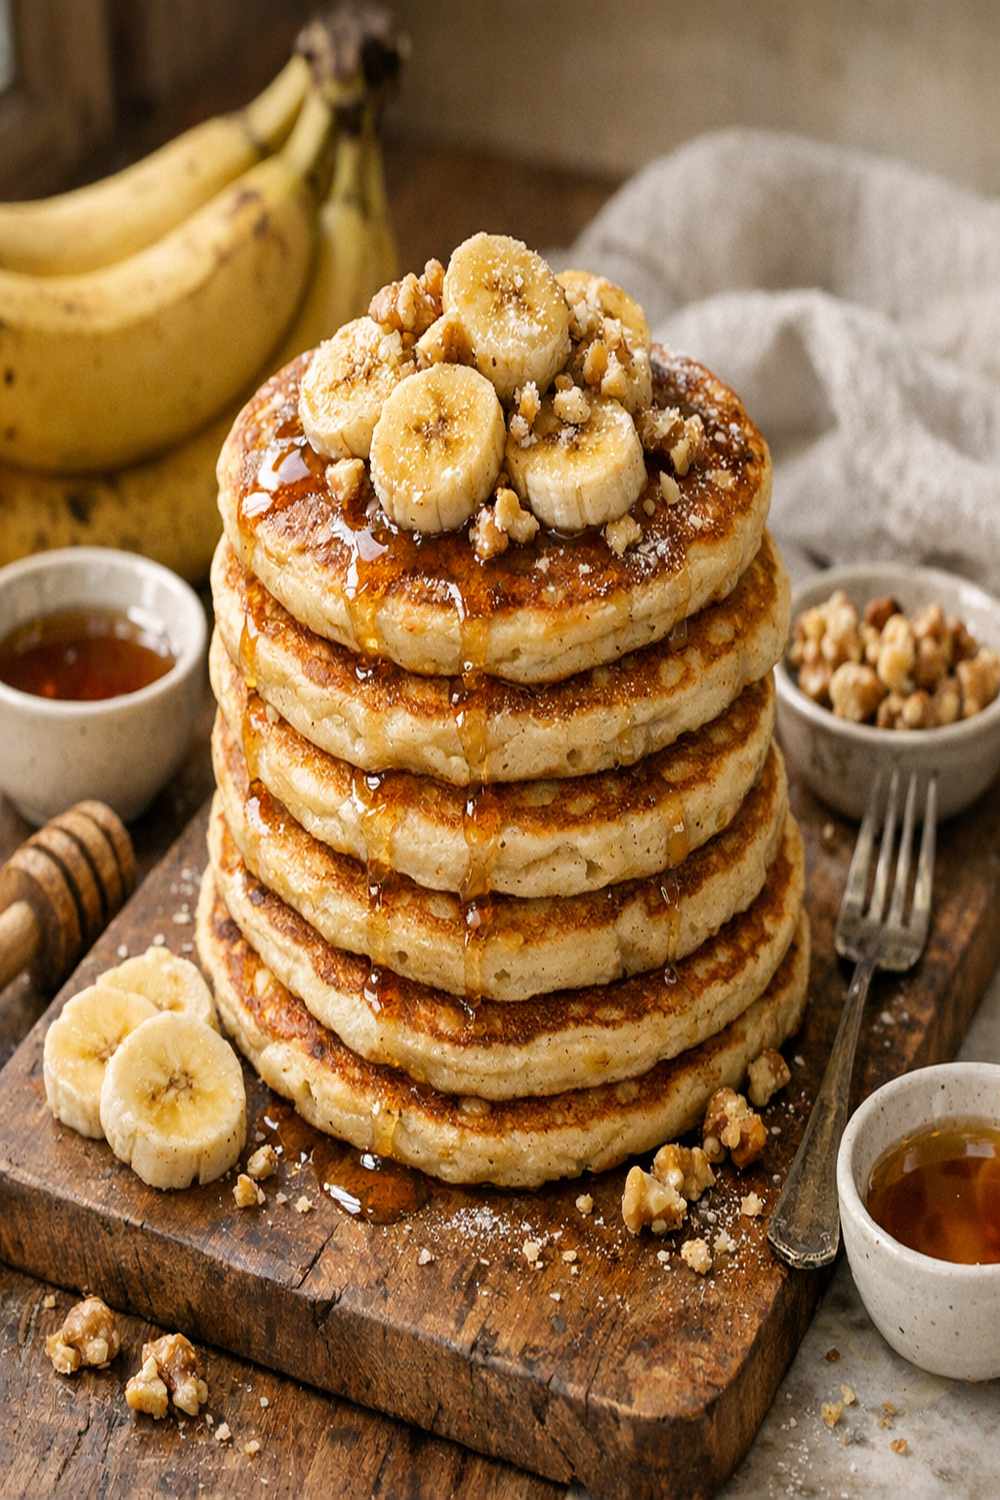

Ingredients
Method
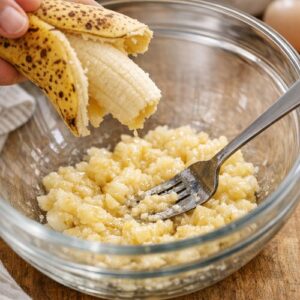
Step 1: Prepare and Measure Your Banana
- Take your ripe banana (with brown speckles on the skin) and peel it directly over a medium-sized mixing bowl. Using a fork, gently mash the banana until you have approximately ½ cup of relatively smooth mash—a few small lumps are fine, but you don't want large chunks. This usually takes one medium banana. Why this matters: the mashing process breaks down the banana's cell walls, releasing pectin that will help bind your batter. You're not creating a perfectly smooth puree; you're breaking it down enough to distribute it evenly through the wet ingredients while preserving some texture. Measuring is critical—too little banana and your batter won't bind properly; too much and the pancakes become dense.
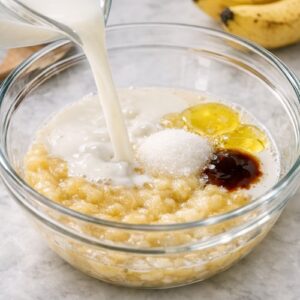
Step 2: Combine All Wet Ingredients
- To your mashed banana in the bowl, add the 1 cup unsweetened soy milk, 2 tablespoons canola oil, 2 tablespoons granulated sugar, and 1 teaspoon pure vanilla extract. Using a wooden spoon or whisk, stir these ingredients together for about 30-45 seconds until they're well combined and mostly smooth. The mixture should look somewhat uniform with no visible streaks of oil or unmixed banana. Expert's tip: I always use unsweetened soy milk specifically because it has a neutral taste and the right fat content (about 2 grams per cup) to create tender pancakes. Almond milk is too thin; coconut milk is too thick. The combination of oil and soy milk replicates the moisture and richness that eggs provide.
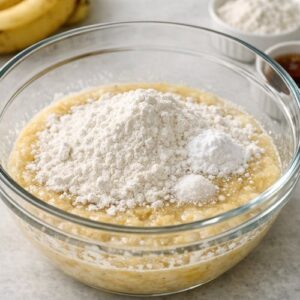
Step 3: Add the Dry Ingredients Correctly
- Sprinkle your 1½ cups all-purpose flour directly over the wet ingredients. Don't stir yet. Next, sprinkle the 1 tablespoon baking powder, ½ teaspoon salt, and ½ teaspoon cinnamon (if using) directly on top of the flour layer. This layering prevents the baking powder from activating prematurely. Now, using a wooden spoon, gently fold and stir the ingredients together until just combined—this should take only about 15-20 seconds. Stop when you still see some flour streaks and lumps. The batter will look decidedly lumpy, almost underdone. This is exactly what you want. Overmixing at this stage develops gluten strands that make pancakes tough and rubbery.
Step 4: Heat Your Griddle to the Perfect Temperature
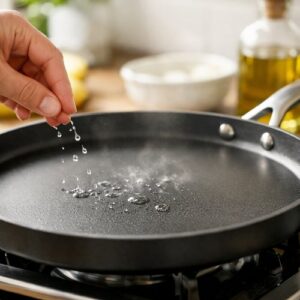
- Place a large griddle or non-stick skillet over medium-high heat. Let it preheat for about 2-3 minutes. To test if it's ready, flick a few drops of water onto the surface—they should sizzle immediately and evaporate within 2 seconds. If the water sits there, it's not hot enough. If it evaporates instantly in less than a second, it's too hot. Safety note: Keep your hands and arms away from the griddle as it heats. Even preheated griddles can cause serious burns. Use a long-handled spatula for flipping.
Step 5: Coat the Griddle and Begin Cooking
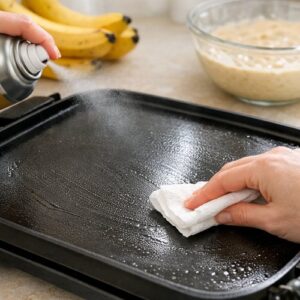
- Lightly coat your preheated griddle with cooking spray or a thin layer of canola oil. Wipe any excess with a paper towel so you have just a light coating. Using a ⅓-cup measuring cup, pour the batter directly onto the griddle. You should be able to fit 3-4 pancakes at a time without crowding them. Do not move the pancakes once they're poured. Let them cook undisturbed for about 2 minutes. You'll see small bubbles forming on the surface—this is the baking powder releasing gas and creating lift.
Step 6: Flip and Finish Cooking
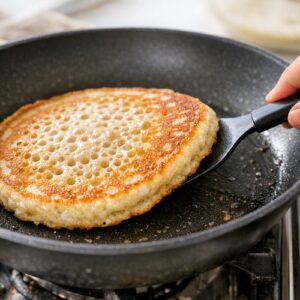
- When the surface of the pancake is covered with bubbles and the edges look set and slightly dry, it's time to flip. Using a thin spatula, slide it under the pancake in one smooth motion and flip it confidently. Don't flip back and forth; commit to the flip. The second side needs only 1-1.5 minutes to cook until it's golden brown. A properly flipped pancake should be golden brown (not pale or dark), and when you press the center gently with your finger, it should spring back immediately. Transfer cooked pancakes to a warm plate and cover loosely with a clean kitchen towel to keep them warm while you cook the remaining batter.
Step 7: Serve Immediately or Cool for Storage
- Stack your finished pancakes on a serving plate. If eating immediately, top with vegan butter, pure maple syrup, and fresh sliced bananas. If you're planning to freeze them for later (which I highly recommend), let them cool completely on a wire rack for about 10 minutes before stacking.
Notes
- Using underripe bananas – A yellow banana without brown speckles won't provide enough pectin to bind the batter. Your pancakes will fall apart or refuse to hold together when flipping. Always wait for brown speckles, or even slightly overripe is better. If you must use yellow bananas, add 1 tablespoon cornstarch to compensate.
- Overmixing the batter to smoothness – When you overmix, you develop gluten networks that trap too much water, creating dense, rubbery pancakes. Mix only until you still see flour streaks and lumps. The lumps are not a mistake; they actually create a lighter, fluffier texture because they don't fully hydrate during cooking.
- Cooking on the wrong heat level – Too hot and the outside burns brown while the inside remains undercooked and gummy. Too cool and the pancakes spread thin, refuse to flip cleanly, and come out pale and tough. Medium-high is the only temperature that works. If your first batch isn't perfect, adjust the heat slightly for the next batch.
- Moving the pancake before it's ready to flip – Resist the urge to check progress before the edges look set. Premature flipping results in pancakes that tear, don't cook evenly, or fall apart on the griddle. Wait for visible bubbles on the surface; that's your signal it's time to flip.