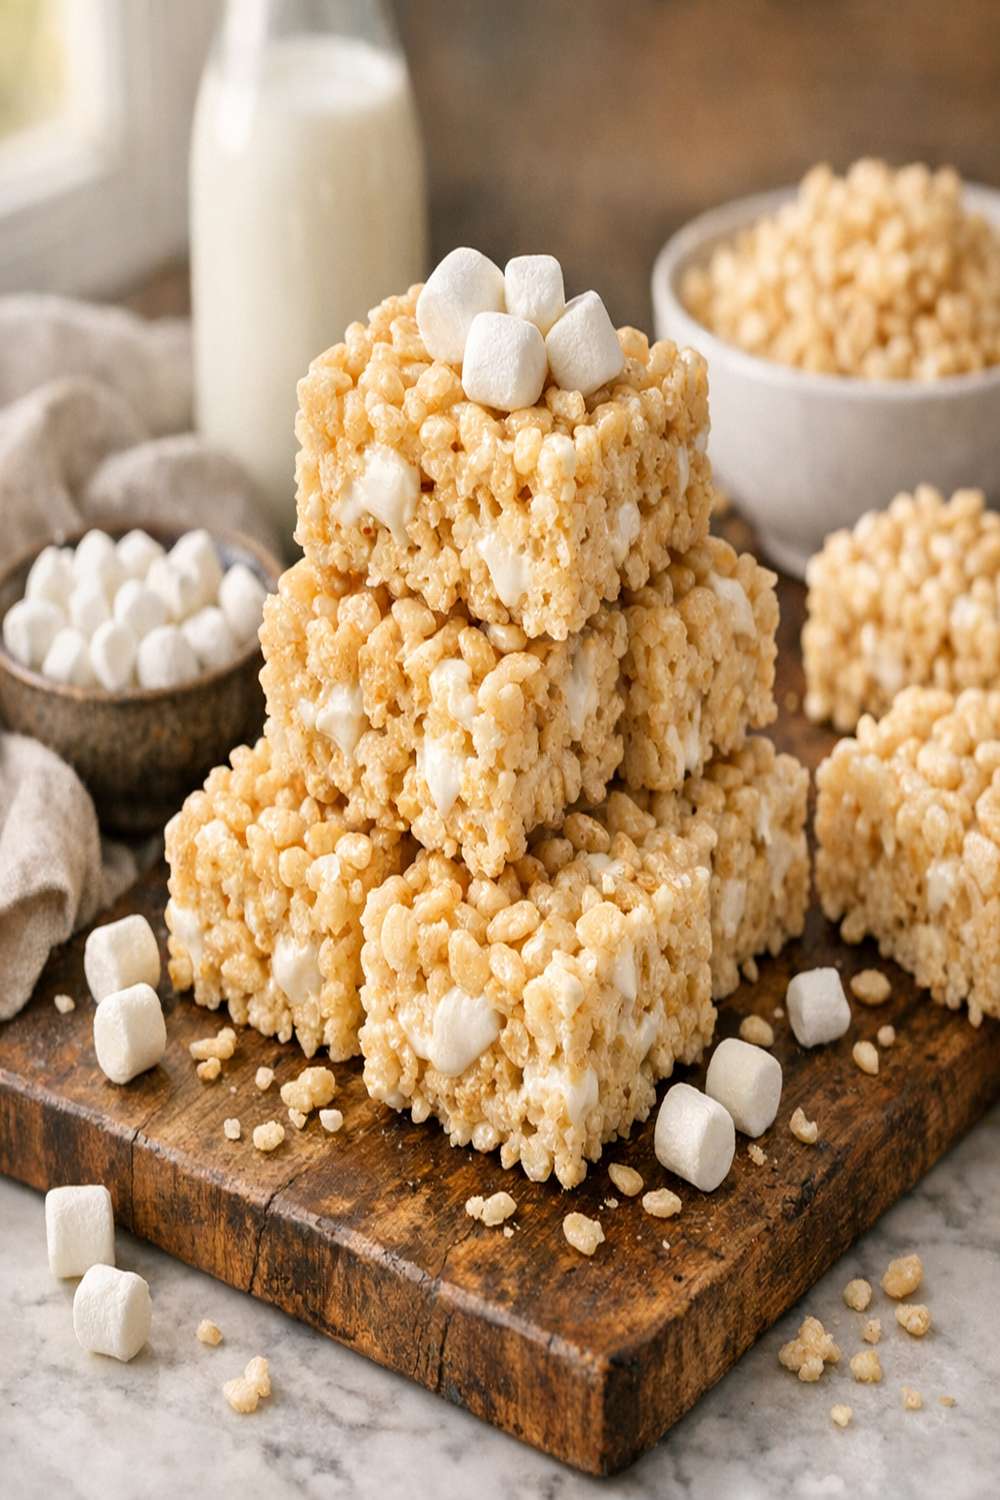

Ingredients
Method
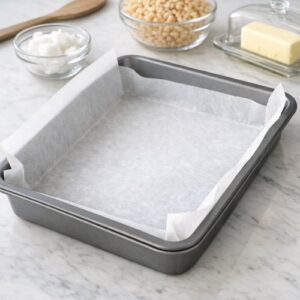
Step 1: Prepare Your Pan and Workspace
- Line a 9 x 13 inch baking pan with parchment paper, allowing the paper to overhang slightly on two sides—this is crucial for later when you need to lift the finished treats out. Lightly spray the parchment with cooking oil. This step takes 60 seconds and saves you fifteen minutes of scraping later. Set your prepared pan aside on the counter where it will stay undisturbed. Have a large wooden spoon or silicone spatula within arm's reach of your stovetop before you start heating anything.
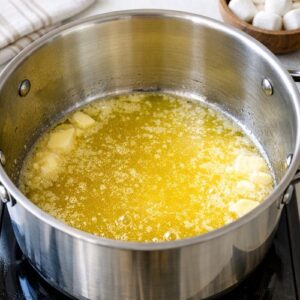
Step 2: Melt the Vegan Butter
- Place a large pot (I use a 5-quart stainless steel pot) over medium heat. Add your ¾ cup of vegan butter and allow it to melt completely, which takes about 2-3 minutes. Watch for the butter to turn from solid to fully liquid, but don't let it start foaming or browning—that's a sign the heat is too high. Once melted, you should see a glossy, smooth liquid. If your pot is too small, the marshmallows will overflow. This isn't a problem you want to solve mid-recipe.
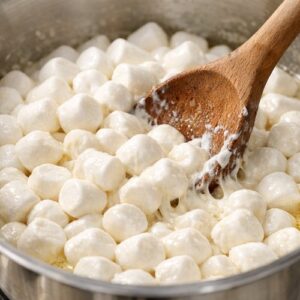
Step 3: Add the Marshmallows and Stir Constantly
- Add both 10-ounce bags of plant-based marshmallows to your melted butter. Immediately begin stirring with your wooden spoon, using firm pressure and consistent circular motions. This step is non-negotiable. Unlike traditional marshmallows that almost melt on their own, plant-based marshmallows require active, patient stirring—usually 5-7 minutes. You'll see them gradually soften, break apart, and eventually form a thick, somewhat lumpy blob. This is exactly what should happen. Don't expect a perfectly smooth marshmallow mixture like you see in traditional versions; plant-based versions are naturally slightly grainier. Keep stirring until about 85% of the marshmallows have integrated with the butter.
Step 4: Remove From Heat and Add Vanilla
- Turn off the heat and carefully remove the pot from the stovetop, setting it on a heat-safe trivet or folded kitchen towel. The pot will remain extremely hot—do not touch the bottom or sides with bare hands. Add your ½ teaspoon of pure vanilla extract and stir it in thoroughly, about 10-15 seconds of stirring. The vanilla prevents the treats from tasting one-dimensional and adds a subtle depth that people can't quite identify but absolutely taste.

Step 5: Fold in the Cereal Gently
- Pour all 8 cups of rice crispy cereal into the pot with the marshmallow mixture. Using your large spoon or spatula, fold the cereal into the marshmallow mixture using a gentle folding motion—think of it like folding whipped egg whites into a soufflé batter. You're not stirring aggressively; you're folding. This takes about 1-2 minutes. Your goal is to coat every piece of cereal with the marshmallow mixture while keeping the cereal as intact as possible. Some clumps of unmelted marshmallow will remain, and that's perfectly fine. This creates a more interesting texture than a completely uniform mixture.
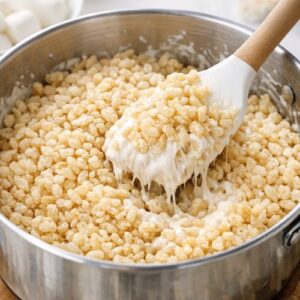
Step 6: Transfer to Pan and Press Down Evenly
- Immediately pour the entire contents of the pot into your prepared baking pan. Working quickly while the mixture is still warm and pliable, use your greased spatula (or greased hands) to press the mixture down evenly across the pan. Don't compress it so hard that it becomes dense and brick-like. You want gentle, even pressure that creates uniformity without destroying the cereal structure. This should take about 30-45 seconds. The faster you work here, the easier this step becomes, because the mixture sets quickly as it cools.
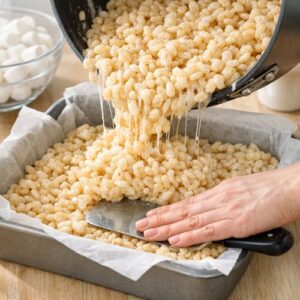
Step 7: Cool Completely Before Cutting
- Set a timer for exactly 60 minutes. Do not attempt to cut these treats before they're completely cool—you'll end up with a crumbly mess instead of neat squares. The cooling time is when the marshmallow sets and the cereal firms up. During this hour, you can clean your pot (soak it immediately with hot water and a little dish soap), prepare a serving platter, or simply enjoy the smell of homemade goodness filling your kitchen.
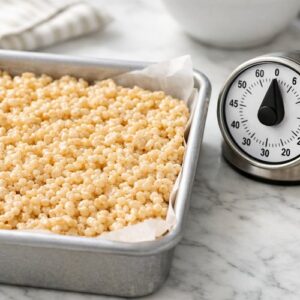
Step 8: Remove and Cut Into Squares
- After the full 60 minutes, grasp the parchment paper overhang on two sides and gently lift the entire slab of treats out of the pan onto a clean cutting board. Using a sharp chef's knife or a serrated bread knife, cut the treats into 24 equal squares (6 rows by 4 columns works perfectly). For the cleanest cuts, wipe your knife with a damp paper towel between each cut. This removes the sticky residue and ensures clean edges. The treats are now ready to serve and enjoy.
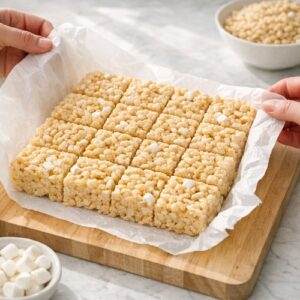
Notes
- Using butter that's too hot when adding marshmallows - If your melted butter is smoking or extremely dark brown, it's too hot and will cause the marshmallows to break down unevenly. Melt on medium heat and you'll avoid this entirely.
- Not stirring the marshmallows enough - This is the most common mistake. Plant-based marshmallows require more patient stirring than traditional ones. If you stir for only 2-3 minutes and give up, you'll end up with barely incorporated marshmallows and disappointing treats. Commit to the full 5-7 minutes of stirring.
- Cutting before complete cooling - I cannot stress this enough. Forty-five minutes feels done. It's not. The full 60 minutes allows the structure to set completely. Cut too early and you'll have a crumbly, compressed mess.
- Overpacking the pan - When you press the mixture into the pan, restrain yourself. You want treats that are tender and slightly crispy on the edges, not dense hockey pucks. Light pressure is your friend here.