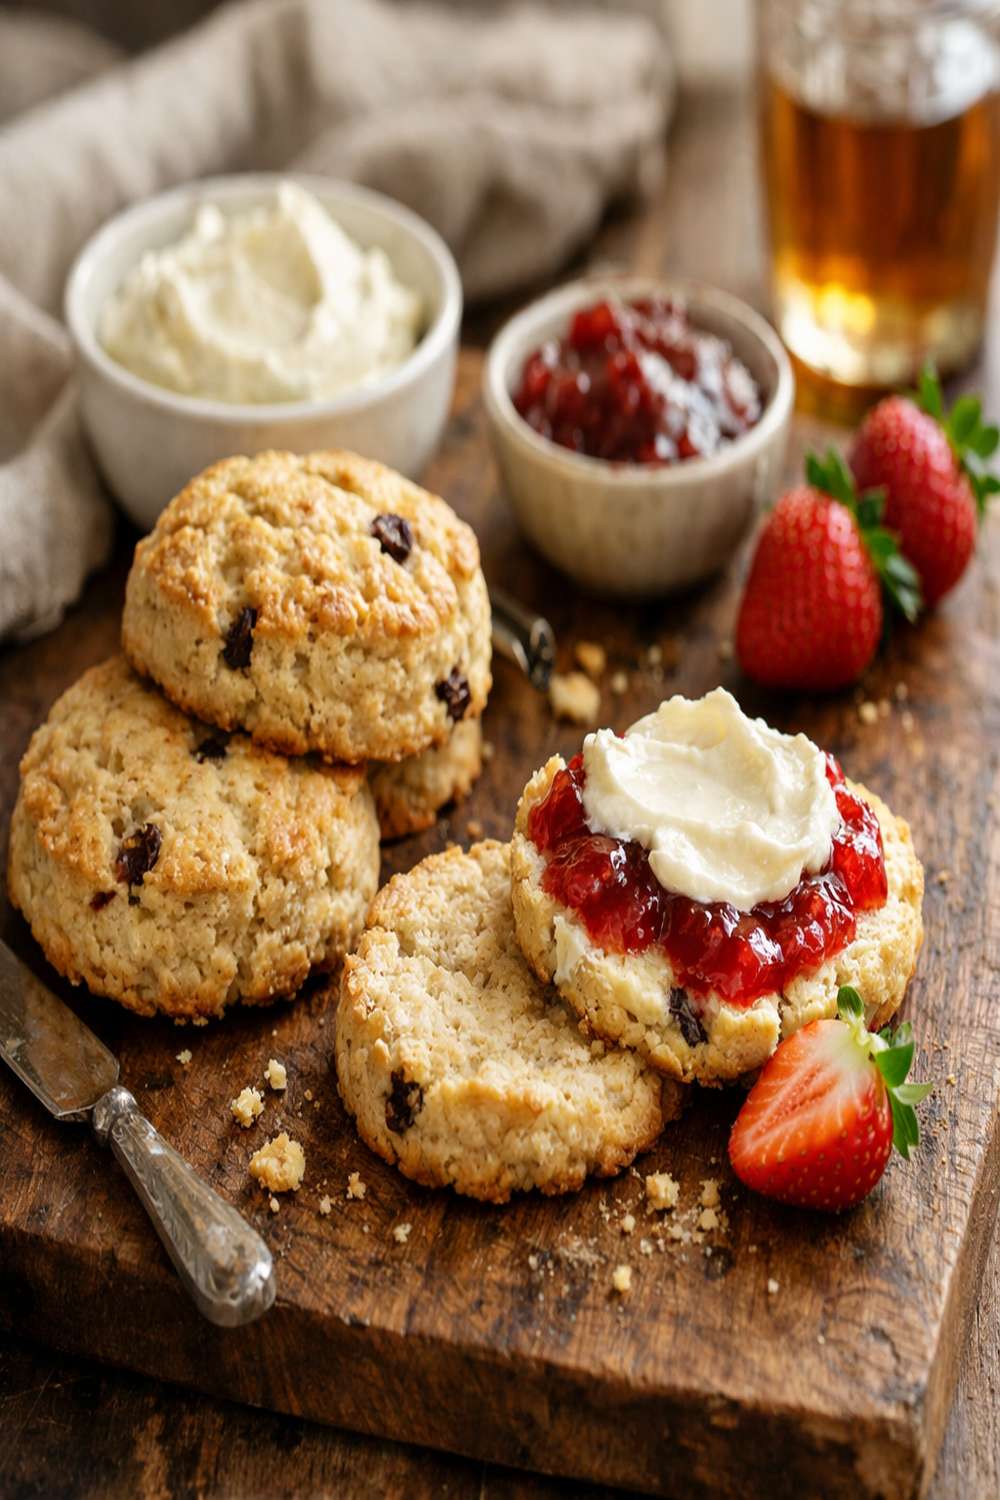

Ingredients
Method
Step 1: Prepare Your Workspace and Oven
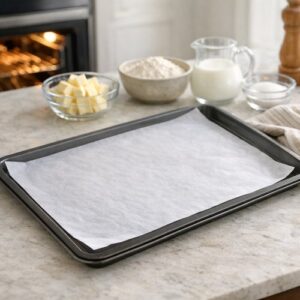
- Preheat your oven to 400°F. Line a large baking sheet with parchment paper—this prevents sticking and ensures even browning on the bottom. Safety note: Ensure your oven racks are positioned in the center, with at least 2 inches of clearance above. This prevents the tops of your scones from browning too quickly. While the oven heats, remove your vegan butter or coconut oil from the fridge and cut it into small cubes. Place these on a plate and return to the fridge. Cold fat is non-negotiable for flaky scones. You want it so cold that it doesn't blend smoothly into the dry ingredients—instead, it creates tiny pockets that turn into steam during baking. For keto versions, this step is even more critical since you're working with almond flour, which has different hydration properties.
Step 2: Combine Dry Ingredients
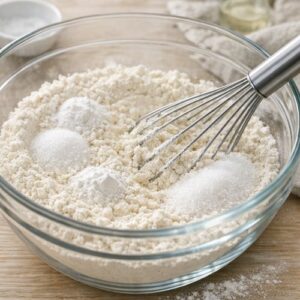
- In a large mixing bowl, whisk together your flour, baking powder, salt, and sugar. If you're making the gluten-free version, whisk vigorously for about 20 seconds—this distributes the xanthan gum evenly, which prevents gumminess. For keto versions: sift your almond and coconut flour combination through a fine mesh strainer before adding, as these flours compact easily and need aeration. Add your ground flaxseeds to the dry mixture now. This is your binder, working similarly to eggs. The flaxseeds themselves don't activate until they meet liquid, so combining them with the flour ensures even distribution. Pro tip from my clinical nutrition background: ground flaxseeds add omega-3 fatty acids and fiber, making this recipe more nutritionally complete than traditional scones. Give everything a final gentle whisk. You're looking for a uniform, light mixture with no clumps of baking powder visible.
Step 3: Cut in the Cold Fat
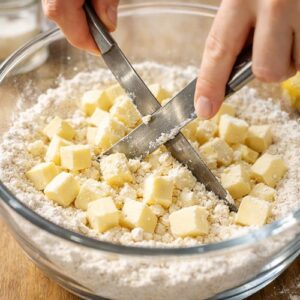
- Remove your cold cubed butter from the fridge. Working quickly, add it to the dry ingredients. Using a pastry cutter, two knives held in an X formation, or your fingertips, work the cold butter into the flour until the mixture resembles coarse cornmeal with pea-sized pieces of butter still visible. Critical technique: Your hands should be cool—run them under cold water and dry completely before starting. Warm hands will melt the butter, creating dense scones instead of flaky ones. This is the most common mistake I see, and it's completely preventable. If at any point the mixture feels warm or you see the butter starting to blend smoothly, pop the bowl back in the fridge for 5 minutes. For vegan versions: Vegan butter can have slightly different water content than dairy butter, so the texture might be slightly softer. If your mixture looks too wet, add another tablespoon of flour. For keto versions: Almond flour blends differently than wheat flour—you may see slightly smaller "pea-sized" butter pieces. This is fine. Don't overmix trying to match the traditional flour texture.
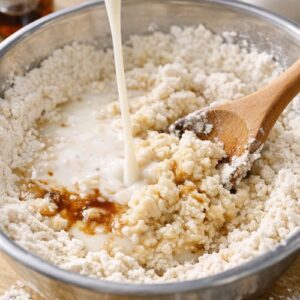
Step 4: Add Liquid and Flavor
- Pour your almond milk and vanilla extract into the dry mixture. Using a wooden spoon or rubber spatula, stir gently until just combined. The dough should look slightly shaggy and come together when pressed, but you shouldn't see any dry flour streaks. Safety alert: Do not overmix at this stage. Overworked dough develops gluten, creating tough, dense scones instead of tender ones. Stir just until the liquid is incorporated—this should take 15-20 gentle strokes, no more. If the dough feels too dry and crumbly—meaning it doesn't hold together when you squeeze a handful—add another tablespoon of almond milk and stir gently. The dough should feel like barely-moistened sand: crumbly but cohesive. For gluten-free versions: these doughs often need slightly more liquid because the flour absorbs differently. Start with an extra tablespoon and see how it feels. For keto versions: the dough will feel drier due to almond flour's lower water absorption. Add liquid one tablespoon at a time until it barely holds together when squeezed.
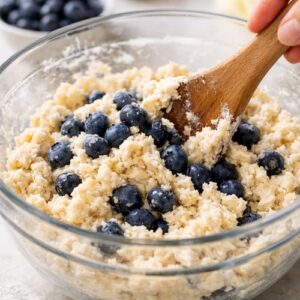
Step 5: Fold in the Fruit
- Gently fold in your blueberries (or your chosen fruit) using a folding motion—cutting down through the center of the dough, scraping along the bottom, and folding up and over itself. Repeat 4-5 times until the berries are evenly distributed. The folding motion prevents crushing the berries and activating their juices prematurely, which would stain and compromise the dough. Add your lemon zest at this point. It disperses evenly during folding and won't clump in specific areas. For vegan versions: the lemon zest adds brightness that complements the earthiness of plant-based ingredients beautifully.
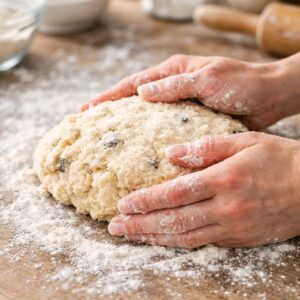
Step 6: Shape the Dough
- Lightly flour a clean work surface. Turn your dough out onto the floured area. Using your hands (lightly flour them if they're sticky), gently knead the dough 3-4 times—just enough for it to come together into a cohesive mass. This is not bread dough. You're not developing structure through kneading. You're simply bringing the dough into one piece. Flatten the dough with your hands or a rolling pin until it forms a circle approximately 1 inch thick. Thickness is crucial: too thin and your scones will be dry and cake-like; too thick and they won't bake through before the top browns. Aim for consistent thickness throughout. For gluten-free versions: the dough may be slightly stickier. Flour your hands generously and work quickly but gently. For keto versions: the dough will feel different—more crumbly, less elastic. This is normal. Push it together firmly, and it will hold when baked.
Step 7: Cut into Portions
- Using a pizza cutter or a large, sharp knife, cut your dough circle into 8 equal wedges, like you're slicing a pizza. A pizza cutter is ideal because it doesn't compress the edges the way a knife sometimes does. Avoid sawing motions—use a single, clean downward cut or rolling motion to prevent sealing the edges, which would prevent them from puffing in the oven. Transfer your scones to the prepared baking sheet, spacing them about 2 inches apart. They'll puff slightly during baking, and you want air circulation around each one.

Step 8: Bake Until Golden
- Place your baking sheet on the center rack of your preheated 400°F oven. Bake for 22-26 minutes, until the tops are lightly golden brown. Exact timing depends on your oven—every oven bakes slightly differently due to air circulation and heating element placement. Start checking at 20 minutes by looking at the top color, not by pressing the tops (which can deflate them). Safety note: Use an oven mitt when checking—steam will escape rapidly when you open the oven door, and the baking sheet will be very hot. Keep hands clear of the door opening. The scones are done when the tops are evenly light golden and a toothpick inserted into the center of one comes out clean or with just a few moist crumbs. For keto versions: these may not brown as visibly due to the sugar substitutes used. Look for the centers to feel set (not soft) when you gently tap the top. Remove the baking sheet from the oven and let the scones cool on the sheet for 5 minutes before transferring to a cooling rack. This allows the structure to set without making them soggy from condensation. Resist the urge to eat them immediately—let them cool for at least 10 minutes before adding glaze or toppings, or you'll lose the tender crumb as they'll be too soft.

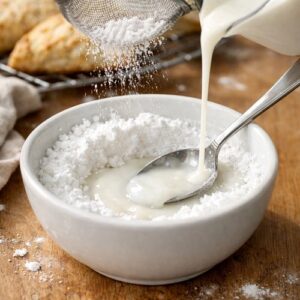
Step 9: Make the Simple Glaze (Optional)
- While your scones cool, sift your powdered sugar into a small bowl. Add almond milk one tablespoon at a time, stirring until you reach your desired consistency. For a thinner glaze that pools slightly, use the full 2 tablespoons of milk. For a thicker glaze that holds its shape, use just 1 tablespoon. Stir in your vanilla extract. Once the scones have cooled slightly, drizzle the glaze over the tops using a fork or whisk. The glaze will set as it cools, creating a light, sweet finish. For vegan versions: verify your powdered sugar is vegan (some contain bone char as a processing agent—check the package).
Notes
- Warm butter: This is the #1 culprit. Warm butter blends into the flour, creating dense, cake-like scones instead of flaky ones. Always cut your butter into small cubes and keep it in the fridge until the very moment you add it. If you're working in a warm kitchen, chill your bowl and tools too.
- Overmixing: Every time you stir after adding the milk, you're developing gluten, which toughens the final product. Stir just until combined—stop as soon as you see the liquid incorporated. This is genuinely a case of less being more.
- Inconsistent thickness: If your dough circle isn't uniform in thickness, your scones will bake unevenly. Some will be dry, others underbaked. Use your hands or a rolling pin to flatten to exactly 1 inch throughout.
- Crushing the berries: If you stir the blueberries in instead of folding them, you'll break them open, releasing their juice into the dough. This stains the scones and makes them soggy. Use the folding technique I described—it takes 10 extra seconds and makes a huge difference.