
Ingredients
Method
Step 1: Prepare Your Pan With Strategic Precision
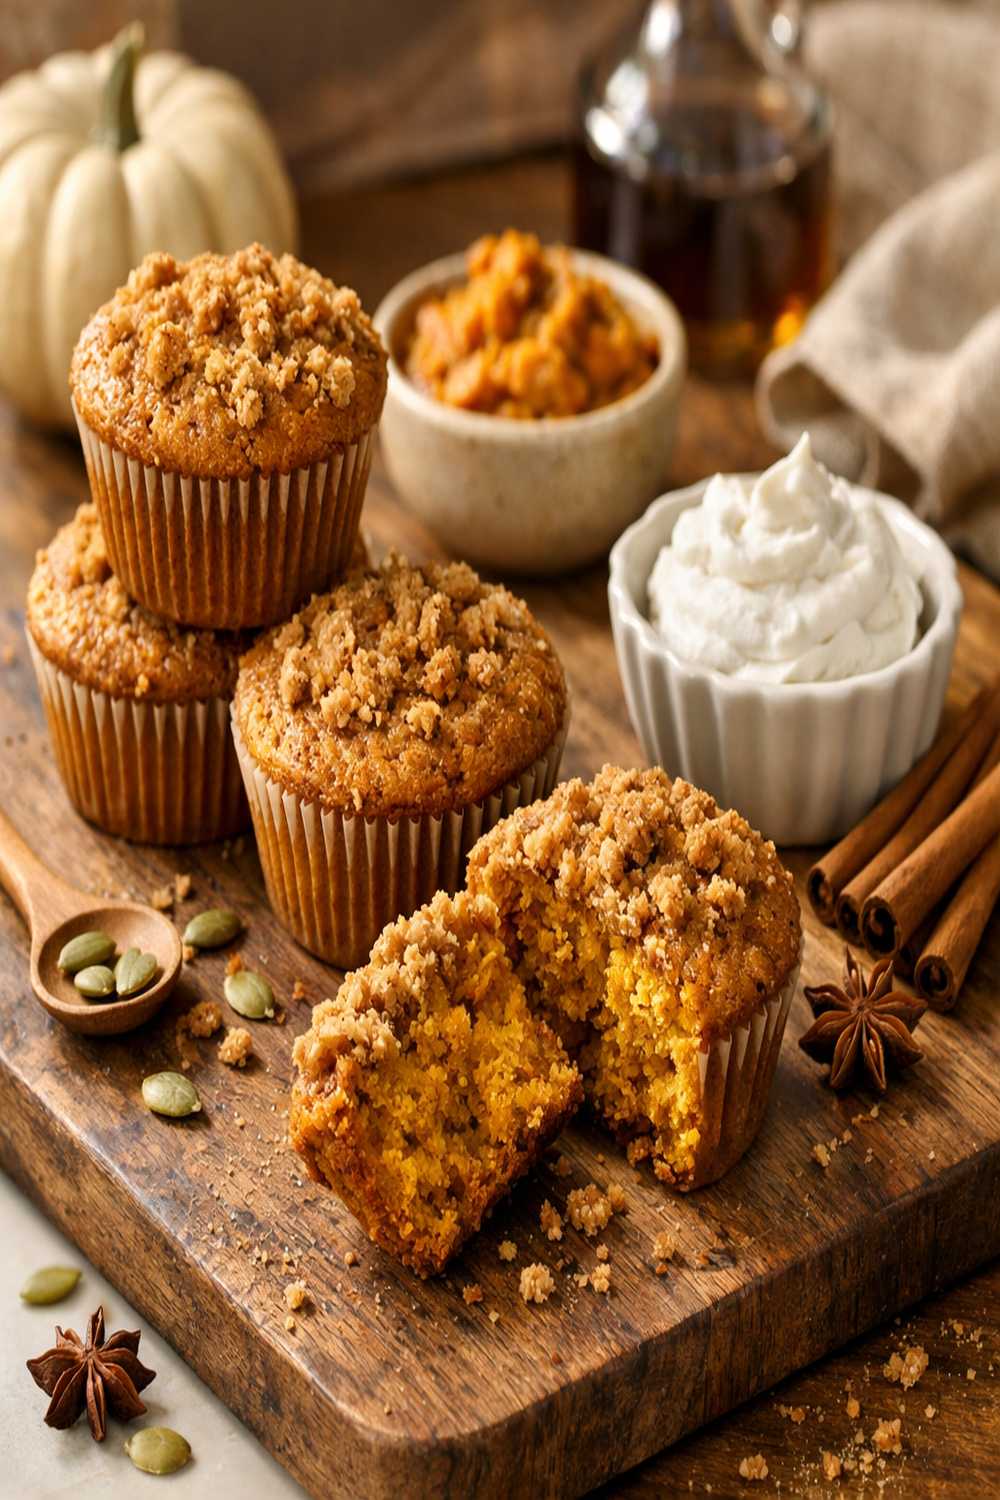
- Preheat your oven to 375°F while you prepare the muffin pan. This matters because temperature consistency creates even rise. While the oven heats, lightly grease your 12-cup muffin pan with neutral oil or cooking spray. If you're using paper liners, spray the inside of each cup lightly—this prevents the muffin from sticking to the paper as it rises. Many bakers skip this step and end up with muffin tops separated from the base. Don't be that baker. The coating ensures moisture can't be absorbed by the paper, which keeps your muffins moist.
Step 2: Create Your Emulsion With Confidence
- In a large mixing bowl, add your pumpkin puree, melted vegan butter (or oil), unsweetened plant milk, and brown sugar. Using a sturdy whisk, combine these ingredients vigorously for about 1 to 2 minutes. You're looking for a smooth, unified mixture with no visible streaks of oil or clumps of sugar. This is emulsification—you're creating a stable combination of ingredients that want to separate. The sugar dissolves, the oil disperses evenly throughout the liquid, and the pumpkin integrates completely. This step is critical because a well-emulsified wet base means your muffins will be uniformly moist and tender. If you skip or rush this, dry spots and dense pockets will form.

Step 3: Sift the Dry Mixture With Care
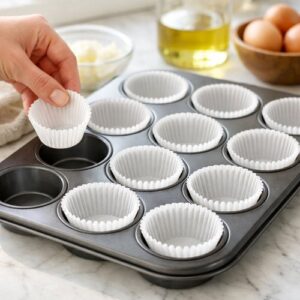
- This is where most home bakers lose credibility. Take a fine-mesh strainer or flour sifter and combine your flour, baking powder, salt, cinnamon, nutmeg, ginger, cloves, and cornstarch. Sift this mixture directly over your wet ingredients. Sifting serves two purposes: it aerates the flour (which promotes lighter rise) and it distributes the leavening agents evenly, preventing bitter baking powder pockets. If you dump dry ingredients directly into wet ones, you'll get uneven texture and potentially metallic flavor notes from concentrated baking powder.
Step 4: Master the Gentle Fold
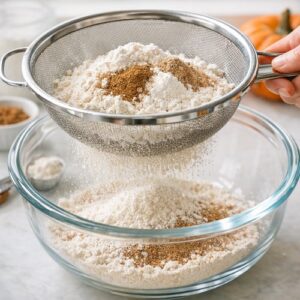
- Here's where your muffins become legendary or disappointing. Pick up a large wooden spoon and, using a folding motion (not stirring), combine the dry and wet ingredients. Fold means you're scraping the bottom of the bowl, bringing the mixture up and over the top, rotating the bowl slightly, and repeating. This gentle motion incorporates ingredients with minimal gluten development. You want to stop when you see no dry flour streaks remaining—typically 10-15 gentle folds. This takes about 30 seconds. The batter will look slightly lumpy. That's perfect. Lumps will smooth out in the oven. Overmixing turns those lumps into tunnels and dense crumb.
Step 5: Fold in Your Add-Ins
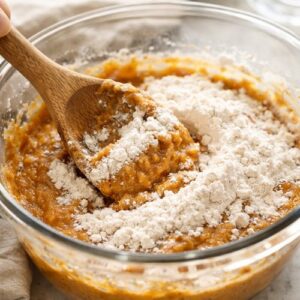
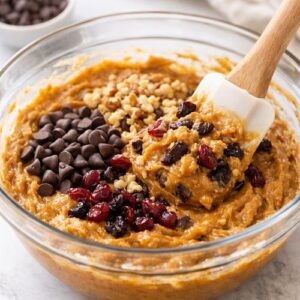
- If using chocolate chips, raisins, walnuts, or cranberries, sprinkle them over the batter now and fold them in gently with just 3-4 additional folds. Don't stir—fold. This distributes them evenly while maintaining your tender crumb structure. If you mix aggressively now, you're undoing all your careful work from step 4.
Step 6: Fill Your Pan With Intention
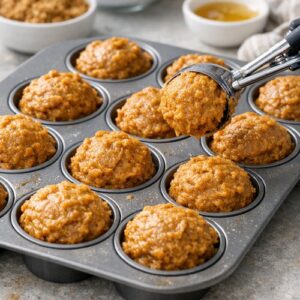
- Using an ice cream scoop or 1/4-cup measuring spoon, fill each muffin cup until it's nearly full. Muffins rise upward, not outward, so filling generously gives you those attractive domed tops. If cups are only half-full, you'll get flat, disappointing muffins. All cups should have roughly equal amounts of batter—this ensures even baking times across all 12 muffins.
Step 7: Bake With Confidence and Restraint
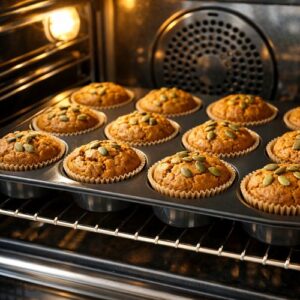
- Place your pan in the preheated 375°F oven and bake for 22 to 25 minutes. Do not open the oven door before 20 minutes have passed—opening it allows heat to escape and interrupts the rise. At the 22-minute mark, insert a toothpick into the center of a muffin (not into a chocolate chip, as that will be melted and deceive you). If the toothpick comes out clean or with just a few moist crumbs, your muffins are done. If wet batter clings to it, bake for another 2-3 minutes and test again. Overbaking creates dryness in dairy-free muffins because there's no fat to compensate.
Step 8: Cool for Perfect Texture
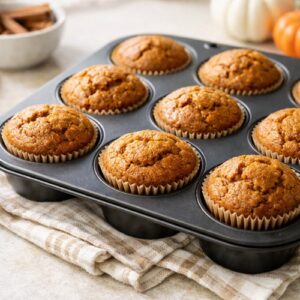
- Remove the pan from the oven and let the muffins rest in the pan for 5 minutes. This allows the structure to set slightly, making them easier to remove. Then turn them out onto a wire cooling rack for at least 15 minutes before serving. Eating them directly from the hot pan might be tempting, but you'll lose the refined texture. Once fully cooled, they're perfect for eating plain or pairing with your favorite toppings.
Notes
- Dense, heavy muffins with tunnels - you overmixed the batter, developing excess gluten. Fix this by using a folding motion instead of stirring, stop as soon as dry flour disappears, and resist the urge to "stir it one more time."
- Muffins that sink or collapse after baking - your oven temperature was too low or you opened the door too early. Invest in an oven thermometer ($12-15) to verify actual temperature, and resist peeking before the 20-minute mark.
- Dry, crumbly texture despite using pumpkin - you overbaked them or your oven runs hot. Check doneness at 20 minutes with a toothpick test, and use an oven thermometer to calibrate temperature. Dairy-free muffins dry out faster than traditional ones.
- Uneven browning with some muffins dark and others pale - your muffin pan has hot spots (common in most home ovens). Rotate the pan halfway through baking, and consider lining the upper racks with foil if top muffins brown too quickly.
- Flat muffins without the characteristic dome - you underfilled the cups or used expired baking powder. Fill each cup nearly full (about 3/4 to the top), and check your baking powder's expiration date—it's only effective for 6-12 months after opening.