
Ingredients
Method
Step 1: Heat-Treat Your Flour for Food Safety
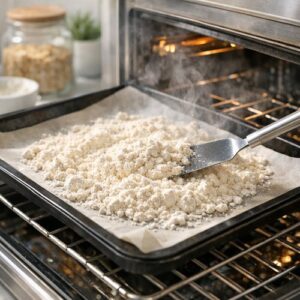
- This is the non-negotiable step that makes raw cookie dough safe. Raw flour can contain E. coli or salmonella, which is why I always treat it before using it in any recipe where it won't be baked. You have two options, and I prefer the oven method because it's more reliable and takes only six minutes. Oven method (my preference): Preheat your oven to 350°F. Spread your two cups of flour evenly on a rimmed baking sheet—don't pile it up or use a small plate. Bake for exactly 6-8 minutes until it reaches an internal temperature of 165°F when measured with a food thermometer. The flour will smell toasted but won't change color noticeably. Let it cool completely on the baking sheet (this takes about 10 minutes) before using. This is the safest method because you're guaranteed the entire batch reaches the proper temperature. Microwave method (faster but requires attention): Place your flour in a microwave-safe bowl and microwave on high in 30-second intervals, stirring between each interval, until it reaches 165°F on an instant-read thermometer. This typically takes 90-120 seconds total depending on your microwave's power. The flour may become slightly clumpy—this is normal and will incorporate smoothly into your dough. Expert tip from my clinical nutrition background: Heat-treated flour is completely safe and doesn't change the nutritional profile of your finished dough. The protein content stays identical, the carbohydrate structure is unaffected, and the only difference is the elimination of harmful bacteria. Once cooled, your treated flour is indistinguishable from raw flour in terms of texture or taste.
Step 2: Cream Your Butter and Sugars Together
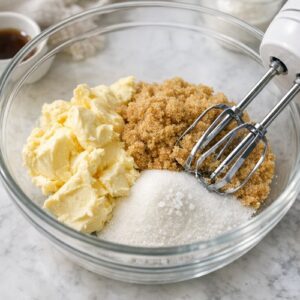
- While your flour is cooling, add your softened vegan butter, light brown sugar, white sugar, and sea salt to a large mixing bowl. Using an electric mixer on medium speed, beat for exactly 2-3 minutes until the mixture becomes pale, fluffy, and noticeably lighter in color. This creaming process is what creates the fluffy texture—you're incorporating tiny air pockets that make the finished dough feel luxurious rather than dense. Timing matters here. If you under-mix (less than 2 minutes), your dough will be grainy and separated. If you over-mix (more than 4 minutes), the vegan butter can become greasy and break down. Watch for the mixture to double in volume and lighten by about two shades—that's your signal you've nailed it. Make-ahead efficiency tip: You can prepare this mixture up to 24 hours ahead and keep it covered in the refrigerator. When you're ready to continue, let it sit at room temperature for 5 minutes before adding the remaining ingredients. This is perfect for meal preppers who want to break the process into two short sessions.
Step 3: Add Vanilla, Almond Extract, and Milk
- Reduce your mixer speed to low and add your two teaspoons of vanilla extract, one teaspoon of almond extract (if using), and three tablespoons of almond milk. Mix for about 45 seconds until completely combined and the mixture looks smooth. You should see no streaks of extract left behind, and the milk should be fully incorporated so there's no liquid pooling at the bottom of the bowl. This step hydrates your dough slightly and ensures even flavor distribution. The vegan milk also helps stabilize the emulsion, which is why your finished dough stays creamy instead of separating or breaking down as the week progresses.

Step 4: Fold in Your Cooled Heat-Treated Flour
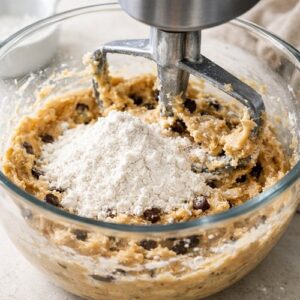
- Once your flour has cooled completely, add it to your wet mixture in two additions. Start the mixer on the lowest speed and add half your flour, mixing just until it's incorporated (about 30 seconds). Add the remaining flour and mix for another 30 seconds until no white streaks are visible. Do not overmix at this stage. Overmixing develops gluten, which makes your cookie dough tough and dense instead of soft and creamy. Your dough will look crumbly and slightly dry at this moment—this is completely normal. Stop the mixer and grab a rubber spatula to do the final incorporating by hand.
Step 5: Fold in Your Chocolate Chips by Hand
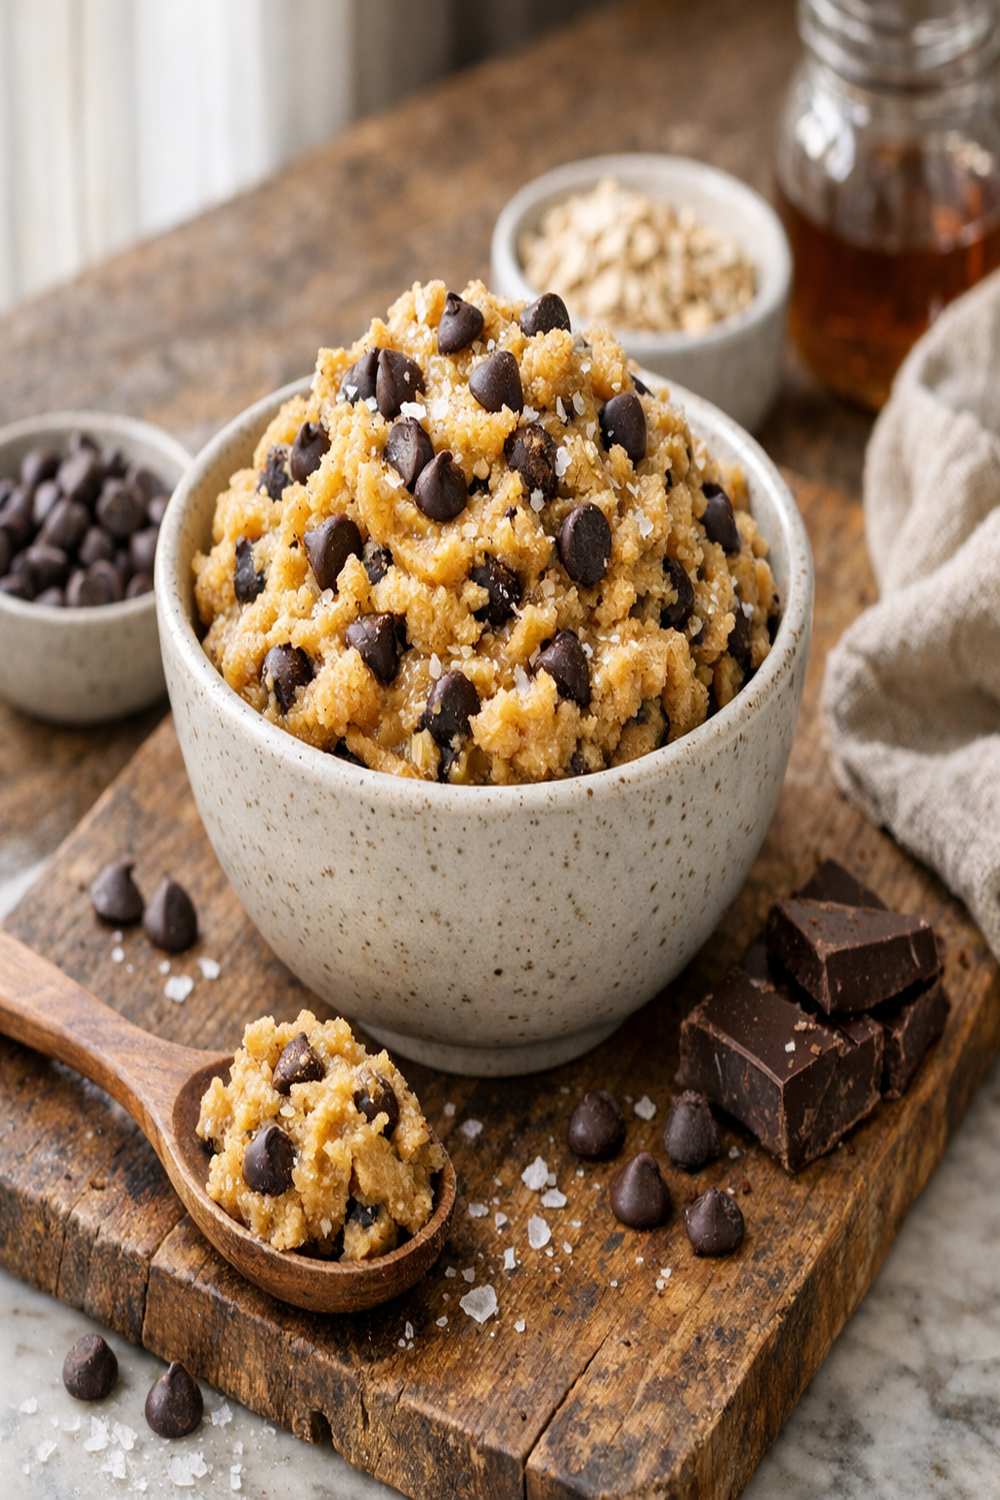
- Using a rubber spatula, gently fold your chocolate chips into the dough with about 12-15 strokes. You want to see the chips distributed throughout, but you don't want to crush them or overmix the dough. The folding motion creates the perfect texture—creamy, cohesive, and studded with chocolate throughout. This is the moment where it stops being "ingredients in a bowl" and becomes actual cookie dough that you want to eat immediately. Pro move for meal preppers: Reserve about ¼ cup of chocolate chips and fold them in at the very end. This gives you visible chocolate distribution on top of your portioned containers, which makes the visual appeal better when you're grabbing a portion during the week. It's a small thing, but presentation matters for food motivation.

Step 6: Portion Into Glass Containers
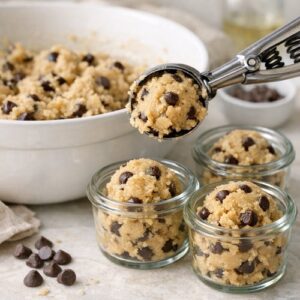
- Transfer your finished dough to a large mixing bowl (to make portioning easier) and allow it to rest at room temperature for 2 minutes. Using an ice cream scoop or a tablespoon, divide your dough into seven to eight portions. I recommend using 3-ounce glass containers with tight-fitting lids—they're microwave-safe, don't absorb odors, and you can see exactly what's inside without opening them. Make sure each container has a tight seal and is labeled with the date (use a piece of painter's tape and a permanent marker on the bottom—no labels to peel off later). Store immediately in the refrigerator, where your cookie dough will firm up slightly but remain perfectly spreadable and delicious.