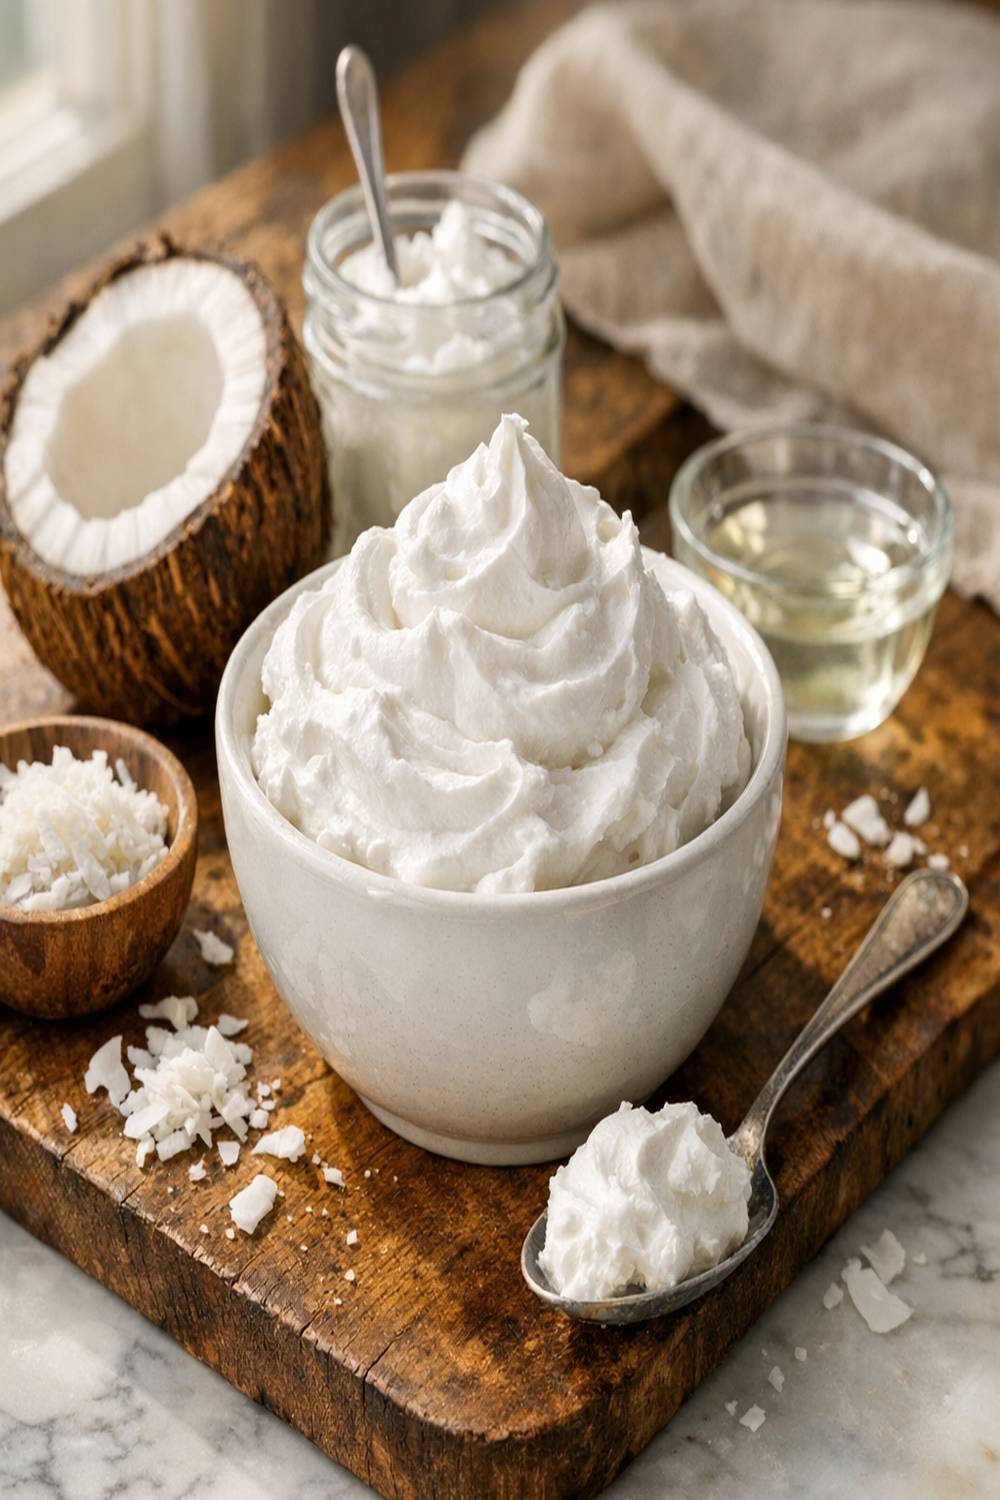

Ingredients
Method
Step 1: Choose Your Coconut Cream and Chill Thoroughly
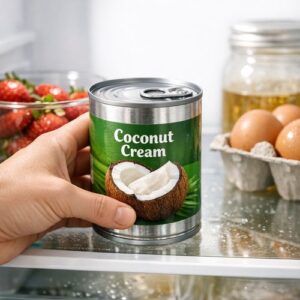
- This step is absolutely critical and often overlooked. Place your unopened can of coconut cream in the refrigerator for at least 8 hours, ideally overnight. This allows the fat and water to fully separate. The cream rises to the top, creating a dense layer—that's your whipping base. Don't shake the can; resist the urge. This separation process is what traditional tropical cooks waited for naturally before refrigeration existed, using cool early-morning hours or mountain caves for storage.
Step 2: Extract the Solid Coconut Cream Layer
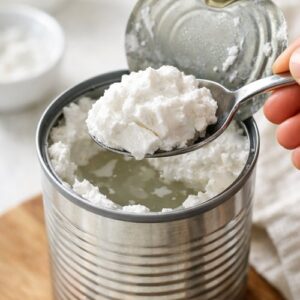
- Carefully open your cold can and look for the separated layers—you'll see a thick cream on top and watery liquid below. Using a spoon, gently scoop the solid cream layer into a clean, chilled bowl. The liquid (coconut water) is wonderful for smoothies or cooking, so don't discard it. You should have roughly 1 to 1¼ cups of thick cream. This is where your whipped texture will develop.
Step 3: Add Your Sweetener and Vanilla
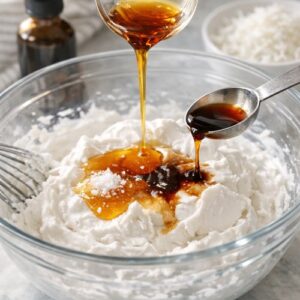
- Into your bowl of coconut cream, add 2 tablespoons maple syrup and 1 teaspoon vanilla extract. I recommend adding the sea salt and optional coconut extract now too. Don't mix yet—simply let these ingredients sit for 30 seconds. This pause allows the cold cream to adjust slightly without shocking the temperature. In traditional Southeast Asian kitchens, ingredients are often tempered this way before combining, a principle rooted in food science that preserves delicate textures.
Step 4: Whip with Electric Mixer Until Fluffy
- Using an electric hand mixer or stand mixer on medium speed, whip the mixture for 1 to 2 minutes until it becomes light, fluffy, and noticeably increased in volume. You're incorporating air into the fat, which creates the signature whipped texture. Watch carefully—you'll see transformation happen. The color becomes slightly lighter, the texture becomes pillowy. This is the magic moment. A critical safety note here: Do not overbeat. If you continue past fluffy texture, you risk breaking the emulsion and creating coconut butter instead. With dairy cream, breaking yields whipped butter—a desirable product. With coconut cream, separation is less predictable. Stop as soon as you see stiff peaks forming (usually around 1½ to 2 minutes with electric mixers).
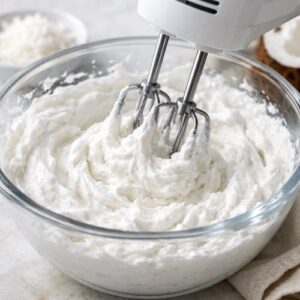
Step 5: Chill Before Serving
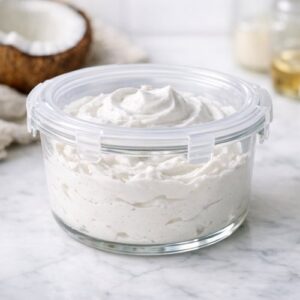
- Transfer your whipped cream to a clean container and refrigerate for 2 to 3 hours before serving. This resting period firms the texture further and allows flavors to meld. The cream will thicken and develop a more stable structure. This mirrors traditional preparation methods where tropical cooks would prepare toppings hours ahead of serving, understanding that cold and time improve both texture and flavor integration.
Notes
- Using Low-Fat Coconut Milk Instead of Cream - Coconut milk has too much water content and won't whip properly. You'll get a foamy mixture that collapses within minutes. Always read your can carefully; full-fat coconut cream and coconut milk are different products.
- Not Refrigerating the Can Long Enough - Impatient whipping with warm cream yields barely-thickened liquid. The separation process genuinely requires 8 hours minimum. This isn't negotiable; it's chemistry.
- Overbeating the Mixture - This creates an oily, separated texture that doesn't recover. Start your mixer, watch closely, and stop the moment you see fluffy peaks. When in doubt, stop early—you can always whip a bit more, but you can't undo overbeating.
- Opening the Can or Mixing Before the Resting Period - Some people shake the can or combine ingredients before the separation process is complete. This creates an emulsified base that won't whip properly. Patience is your ingredient here.