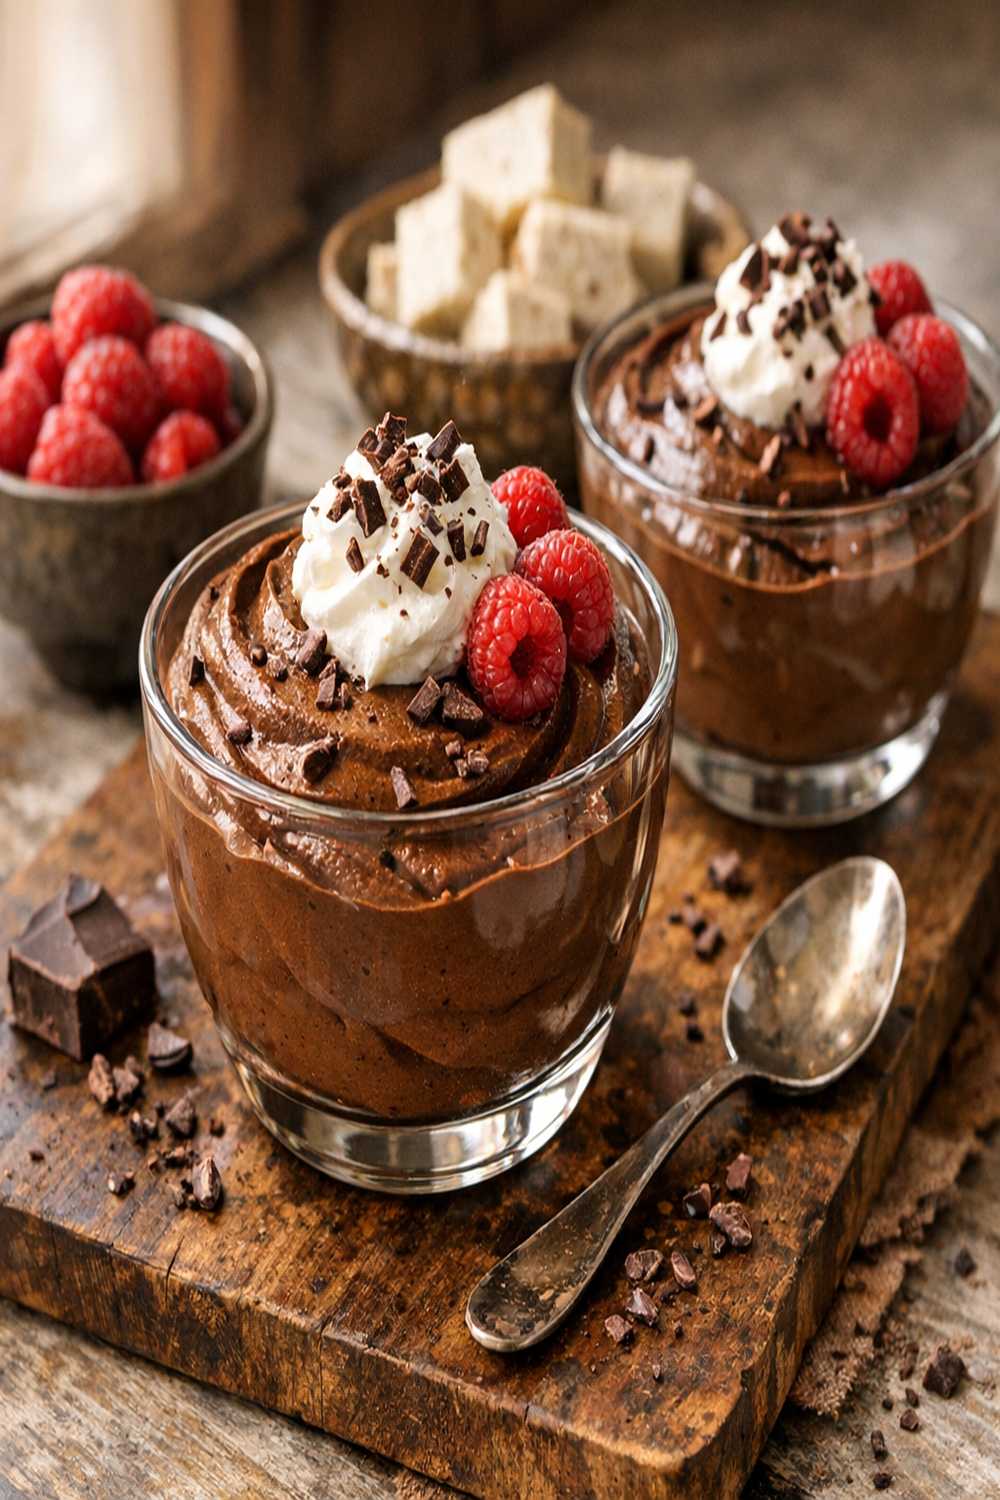

Ingredients
Method
Step 1: Prepare Your Chocolate
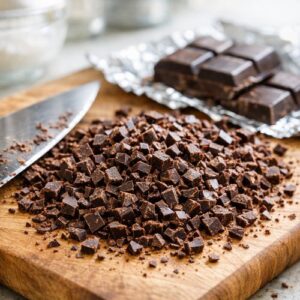
- If you've purchased chocolate bars instead of chips, chop them into small, uniform pieces about the size of a pea. This speeds up melting and ensures even temperature distribution. Chocolate chips are fine too—no chopping necessary. The investment in a sharp chef's knife pays dividends here—rough, uneven pieces melt unevenly and create lumpy texture. Place your chopped chocolate into a microwave-safe bowl. Do not add any liquid yet. Microwave on 50% power (this is the key to preventing scorching) for 20-second intervals. Between each interval, stir thoroughly with a rubber spatula, even if the chocolate doesn't look fully melted. The residual heat will continue melting pieces that appear solid. Safety Warning: Melted chocolate can reach temperatures exceeding 170°F. Never touch the bowl's bottom or sides without oven mitts. Keep children away during this step. After your third or fourth 20-second burst, you'll notice the chocolate is about 90% melted with some small solid pieces remaining. This is perfect—stop microwaving immediately.
Step 2: Complete the Melt Without Extra Heat
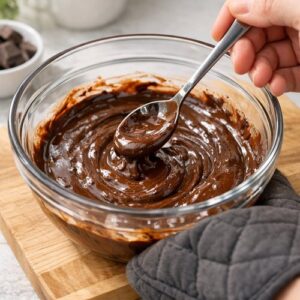
- Remove the bowl from the microwave using proper oven mitts. Set it on a clean, heat-safe surface. Stir continuously for 2-3 minutes. The residual heat in the bowl will melt the remaining chocolate pieces without any additional cooking. You'll end up with glossy, smooth, lump-free chocolate. This passive-melt technique saves time and prevents the grainy texture that results from overheating chocolate. Let the melted chocolate cool for 3-5 minutes while you prepare the tofu. This prevents the chocolate from cooking the tofu when they combine, which can create an unpleasant texture.
Step 3: Drain and Prepare the Tofu
- Open your package of silken tofu carefully. Silken tofu is delicate and will fall apart if handled roughly. Pour off the excess water into your sink. If there's a lot of liquid pooling on top, carefully tilt the package and let it drain naturally—don't squeeze or press the tofu. Expert tip from my clinical nutrition background: The water surrounding tofu contains some dissolved nutrients and helps preserve texture. Gentle draining is better than aggressive pressing for silken varieties. If you want extra insurance against a watery final texture, line a small plate with paper towels, place the opened tofu package on top, and let it sit for 5 minutes. Safety Warning: Silken tofu is a potentially hazardous food once opened. Work quickly and keep your prep area clean. Any tofu that will sit longer than 2 hours should be refrigerated immediately.
Step 4: Combine in Your Blender
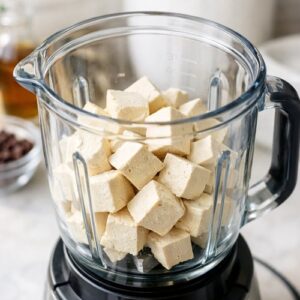
- Add the drained tofu directly into your blender or food processor. I typically double or triple this recipe, so I use a standard blender. For a single batch, a hand-held immersion blender will work, though you may need to work in smaller batches. Pour the cooled melted chocolate over the tofu. Sprinkle the Dutch cocoa powder evenly across the top. Add the sea salt and the protein powder if you're using it. Adding the protein powder is optional nutritionally, but it dramatically improves texture—it absorbs excess moisture and creates that mousse-like consistency that makes this feel luxurious. Do not blend yet. With all ingredients sitting in the blender unmixed, you'll have better control in the next step.
Step 5: Blend to Smooth Perfection
- Turn on your blender to low speed. Let it run for 15-20 seconds, then stop. At first, the mixture will look grainy and separated—this is completely normal. You might see streaks of brown cocoa powder that haven't incorporated, and the chocolate might look broken or curdled. This is not a problem. Stop the blender and use a rubber spatula to scrape down the entire inside of the container, pushing any cocoa powder, tofu, or chocolate stuck to the sides down into the center of the mixture. This scraping step is non-negotiable for smooth mousse—any cocoa powder left on the sides will never blend in. Resume blending on low speed for another 10-15 seconds. Scrape down again. Repeat this process (blend briefly, scrape, repeat) until the entire mixture is uniformly colored, smooth, and thick. This usually takes 3-5 scrape-and-blend cycles total. The final texture should resemble thick pudding or soft-serve ice cream. Pro tip: If your mixture seems too thick to blend smoothly, add 1 tablespoon of unsweetened almond milk or coconut milk and blend again. Add liquid gradually—you can always add more, but you can't take it out.
Step 6: Taste and Adjust Sweetness
- This is an important step that many home cooks skip. Scoop out a small spoonful (about half a tablespoon) of the mousse and taste it. Notice the chocolate flavor, the cocoa depth, and the sweetness level. Quality bittersweet chocolate (70% cacao) already contains a good amount of natural sweetness. Many people find the mousse perfectly sweet at this stage. If you prefer something sweeter, add 1 tablespoon of pure maple syrup or raw honey. Pulse the blender 3-4 times to incorporate the sweetener. Taste again. Add another tablespoon only if needed. Money-saving insight: Skipping the sweetener saves you $0.50-$1.00 per batch and keeps the mousse's nutritional profile cleaner. Most guests never notice it's not overly sweetened—they're too busy enjoying the chocolate intensity.
Step 7: Chill for Proper Texture Development
- Divide the mousse among serving dishes immediately. Shallow bowls or small glasses work beautifully and make portion control easier. Cover each serving with plastic wrap or place them all on a covered tray. Refrigerate for at least 8 hours before serving. This is not optional—the mousse needs time to firm up from its current pudding-like consistency into the luxurious, spoon-gliding-through mousse texture you're after. The tofu proteins continue to set as they chill, and the cocoa powder fully hydrates into the mixture. Budget timing tip: Make this the evening before you plan to serve it. You do zero work the next day, and the mousse actually tastes better on day two.

Notes
- Buy tofu at warehouse clubs like Costco or Sam's Club - You'll pay 30-40% less per package. A single Costco trip will give you enough tofu for multiple batches, and it keeps refrigerated for up to 10 days after opening if stored properly in fresh water.
- Choose store-brand baking chocolate over name brands - There is virtually no quality difference between a $3 store-brand bittersweet bar and a $6 premium version when it's being melted and blended into a mousse. Save the expensive chocolate for eating plain.
- Buy protein powder in bulk or subscribe-and-save - If you use protein powder regularly (even in smoothies or oatmeal), ordering through subscription services saves 15-25%. Since you're only using 40g per mousse recipe, one container lasts for months.
- Splurge on Dutch cocoa powder, not Dutch chocolate - Dutch cocoa is processed to be more soluble and has deeper, more complex flavor than regular cocoa. The price difference is minimal ($0.50-$1.00 per container), but the taste difference is noticeable. This is worth the upgrade.
- Skip the optional sweetener if the chocolate is quality - If you're buying decent bittersweet chocolate (not overly processed), it already has balanced sweetness. The optional maple syrup is truly optional, saving you $1-$2 per batch.