
Ingredients
Method
Step 1: Activate the Yeast (5 Minutes)
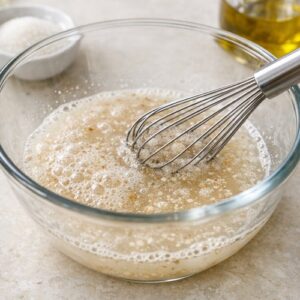
- Combine half the warm water, sugar, and yeast in a large mixing bowl (or the bowl of a stand mixer). Whisk gently—you're looking for the yeast to start dissolving into the water, creating a slightly foamy mixture. This is called "blooming" the yeast, and it tells you the yeast is alive and ready to work. Let it sit uncovered for exactly 5 minutes. If after 5 minutes you see foam rising to the surface and smell a pleasant, beer-like aroma, your yeast is active. If it's flat and odorless, your yeast is dead—start over with fresh yeast. Safety note: Water that's too hot (over 120°F) will kill the yeast. Water that's too cold (under 95°F) will activate it too slowly. Use a kitchen or instant-read thermometer here—I learned this the hard way after years of guessing.
Step 2: Build the Dough Base (2 Minutes)
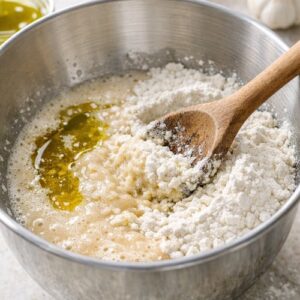
- Pour in the remaining warm water, the ¼ cup olive oil, salt, and 1 cup of flour into your yeast mixture. Stir with a wooden spoon or paddle attachment (if using a stand mixer) on low speed for about 20 seconds. This should look shaggy and rough—that's perfect. You're not kneading yet; you're just combining.
Step 3: Add the Remaining Flour Gradually (2 Minutes)
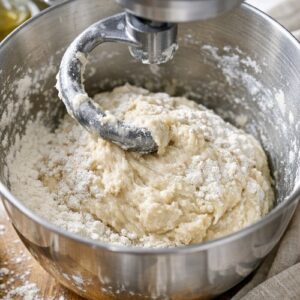
- Add 3½ cups more flour and beat on low speed for 2 full minutes. The dough will come together but may still look slightly wet or sticky. If after 2 minutes the dough is still clinging heavily to the sides of the bowl, add the final ½ cup flour in small increments—1 tablespoon at a time—until the dough pulls away from the bowl walls but still feels tacky to the touch. Stop as soon as that happens. Overly dry dough creates dense, crumbly focaccia.
Step 4: Knead Until Smooth and Elastic (5 Minutes)
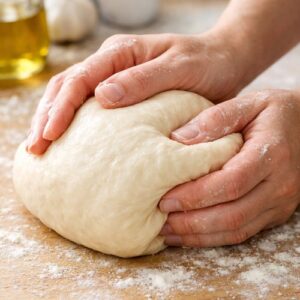
- Continue beating on low speed (or knead by hand on a lightly floured surface) for 5 full minutes. The dough should transform from shaggy to smooth and slightly elastic. It will still feel soft and slightly sticky—this is correct. If it becomes too sticky during kneading, sprinkle 1 teaspoon of flour at a time (not whole tablespoons) onto the work surface or directly onto the dough. Test for readiness using the windowpane test: Pinch off a golf-ball-sized piece of dough and gently stretch it with your fingers until it's thin and translucent. Hold it to a light source. If light passes through without tearing, your dough has developed enough gluten structure and is ready to rise. If it tears, knead for another minute and test again. Expert's nutritional tip: Bread dough that's kneaded properly develops gluten networks that slow down digestion and blood sugar response. This is one reason homemade focaccia—which develops gluten through proper kneading—causes a gentler blood sugar rise than store-bought focaccia, which is often mass-produced with added sugars and dough conditioners.
Step 5: First Rise (2–3 Hours)
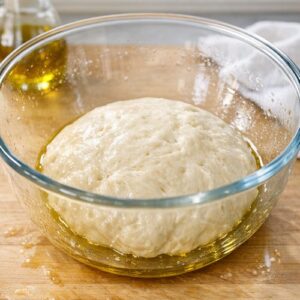
- Lightly oil a large clean bowl with about 1 teaspoon of olive oil or nonstick spray. Place your dough inside and turn it once to coat all sides in oil (this prevents a dry skin from forming). Cover the bowl tightly with plastic wrap, aluminum foil, or a damp kitchen towel. Allow the dough to rise at warm room temperature for 2–3 hours until it doubles in size. If your home is chilly (below 70°F), here's a pro tip: Preheat your oven to 150°F, then turn it off. Place the covered dough bowl inside the warm oven with the door slightly cracked open. After about 30 minutes, close the oven door fully to trap the warm air. Check every 45 minutes. The dough should double in about 2–3 hours depending on your home's temperature. You'll know it's ready when you poke the surface with your finger and the indent slowly springs back but doesn't completely deflate—it should leave a slight impression behind.
Step 6: Prepare Your Pan and Stretch the Dough (5 Minutes)
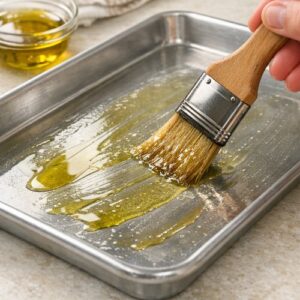
- Generously oil a 12×17-inch baking pan with at least 1-inch-tall sides using 2 tablespoons of olive oil. Use a pastry brush to spread the oil evenly across the bottom and slightly up the sides. This oil layer is essential—it creates the crispy, golden bottom crust and prevents sticking. Don't skimp here. Gently punch down the risen dough to release air bubbles (this keeps the crumb more even rather than creating large holes). Transfer it to the oiled pan. Using your hands (or knuckles if you prefer), gently stretch and flatten the dough to fill the pan. Don't tear it. If the dough shrinks back (mine always does), cover it with a clean towel and let it rest for 5–10 minutes. The gluten relaxes, and stretching becomes much easier the second time.
Step 7: Cold Fermentation (12–24 Hours in the Refrigerator)
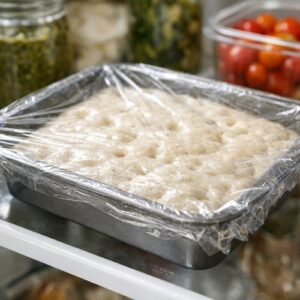
- Cover the dough tightly with plastic wrap or aluminum foil and refrigerate for at least 12 hours and up to 24 hours. This cold fermentation is where the magic happens. The yeast works slowly in the cold, developing complex, nutty, slightly tangy flavors that rushed recipes simply cannot achieve. You'll also notice the dough rises somewhat during this time—it may puff up another 30-40%, which is perfect. Yes, you can bake it after 12 hours, but 18–24 hours truly is ideal. Plan accordingly.
Step 8: Dimple and Top (5 Minutes)
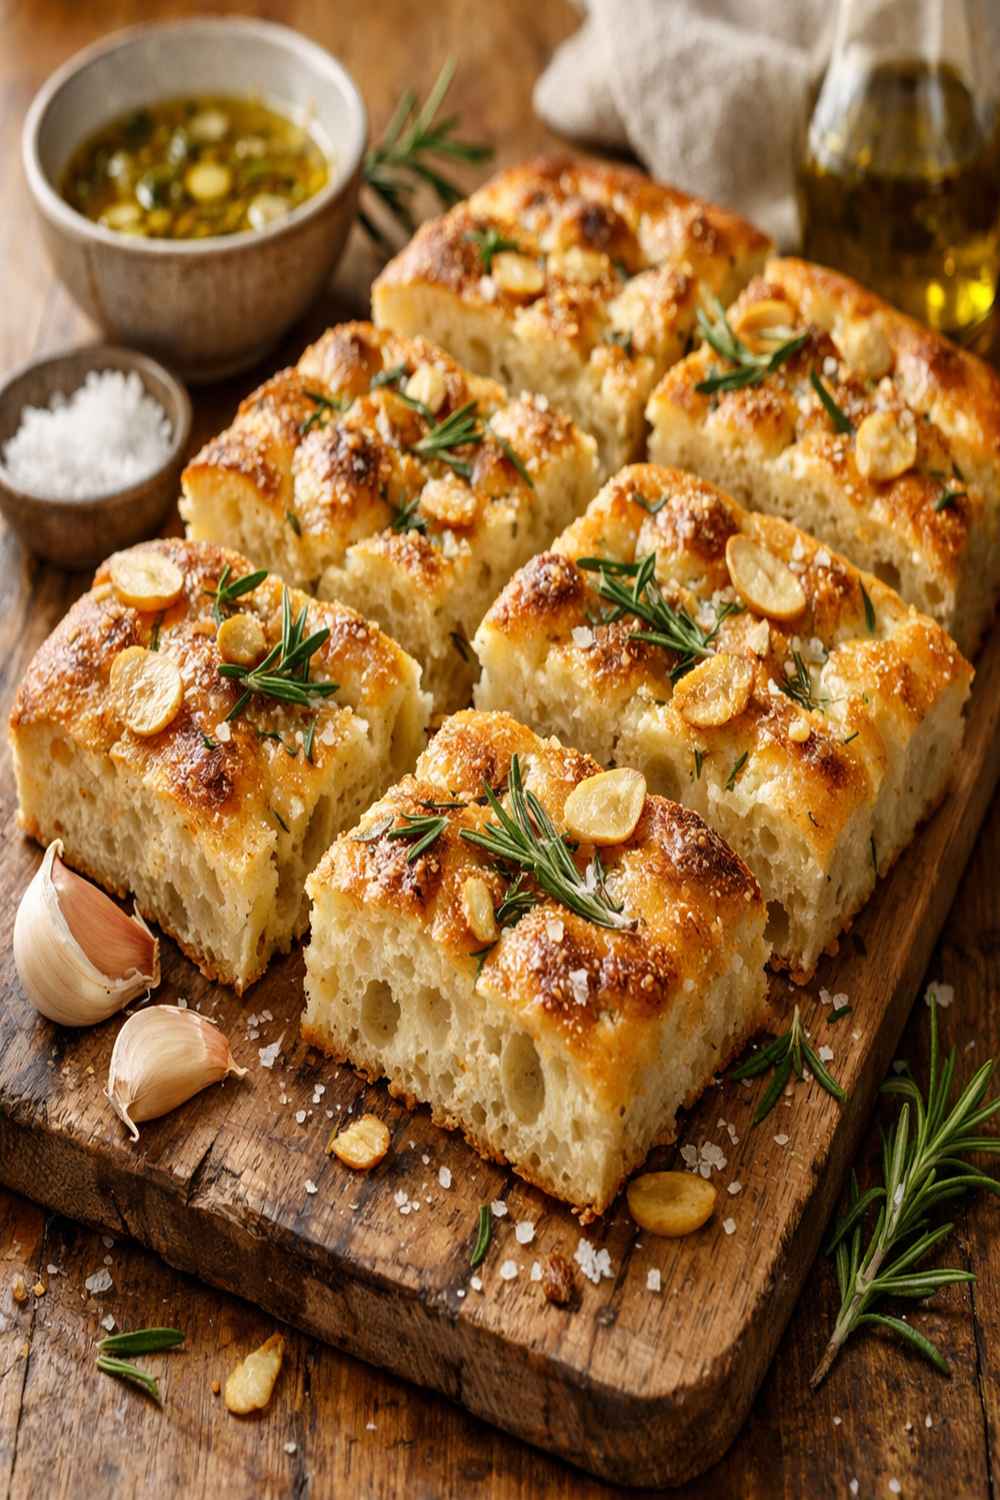
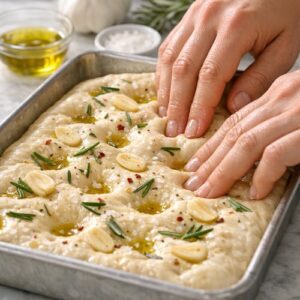
- Remove the dough from the refrigerator and let it sit at room temperature for 15–20 minutes while you preheat your oven. Keep it covered during this time. Preheat your oven to 450°F (232°C) and allow it to heat for at least 10–15 minutes so every corner of your oven reaches full temperature. An oven thermometer is helpful here—ovens often run cooler than their dial suggests. While the oven heats, prepare your topping: Whisk together the remaining 3 tablespoons of olive oil with the minced garlic and fresh herbs (basil, thyme, rosemary—or your chosen combination). Let it sit for a few minutes so the flavors infuse into the oil. Using your fingertips, dimple the entire surface of the dough by pressing gently but firmly all over—these little indentations are signature focaccia and also catch the oil and seasonings beautifully. Space them about 1 inch apart. You should create dozens of small dimples across the surface. Drizzle the garlic-herb oil all over the top and use your hands or a pastry brush to spread it evenly so every inch is covered. Add a bit more oil if needed—this creates the crispy, golden crust that makes focaccia irresistible. Finish with a sprinkle of coarse sea salt and freshly cracked black pepper.
Step 9: Bake and Cool (20–23 Minutes)
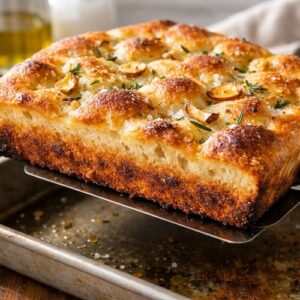
- Bake for 20–23 minutes until the top is light golden-brown and the edges are deeper golden. The bottom should be crispy and deeply browned (not burnt—there's a difference). If you want extra color and crispness, turn your oven to broil on high for the final 60 seconds, watching carefully so it doesn't burn. Broiling can happen very fast. Remove from the oven and let cool in the pan for 3–5 minutes, then either serve warm or transfer to a cutting board and cool to room temperature (about 30 minutes). This cooling time allows the crumb to set properly. Focaccia sliced too early will be gummy; sliced after cooling, it's perfect. Safety warning: The pan and oil will be extremely hot. Use thick oven mitts and set the hot pan on a heat-safe surface away from children or pets. Don't touch the oil—it can cause serious burns.
Notes
- Using water that's too hot or too cold: This is the #1 reason breads fail. Yeast dies above 120°F and doesn't activate below 95°F. Invest in a kitchen thermometer—they're $8 and they'll change your bread-baking life.
- Skipping the cold fermentation: I understand the temptation to bake right away, but that 12–24 hour refrigerator rest develops the flavor and texture that makes this focaccia special. If you must rush, 4 hours at room temperature is the bare minimum, but the flavor won't be nearly as good.
- Not enough oil on the pan: People often under-oil out of health concerns, but this is bread—it needs oil to develop that crispy crust. Don't skip it. The oil isn't going directly into your body; most of it stays on the pan.
- Pressing too hard when dimpling: You want gentle indentations, not deep holes that poke all the way through or compress the dough so much it doesn't rise. Think "dimple," not "dent."
- Baking in an oven that isn't fully preheated: A cold oven will produce a thick, dense, pale crust. Give your oven the full 10–15 minutes to preheat, and use an oven thermometer if you suspect yours runs cool.